The promise of new flavours beckons from Banawe.
Here’s How to Look Good in Your Passport Photos

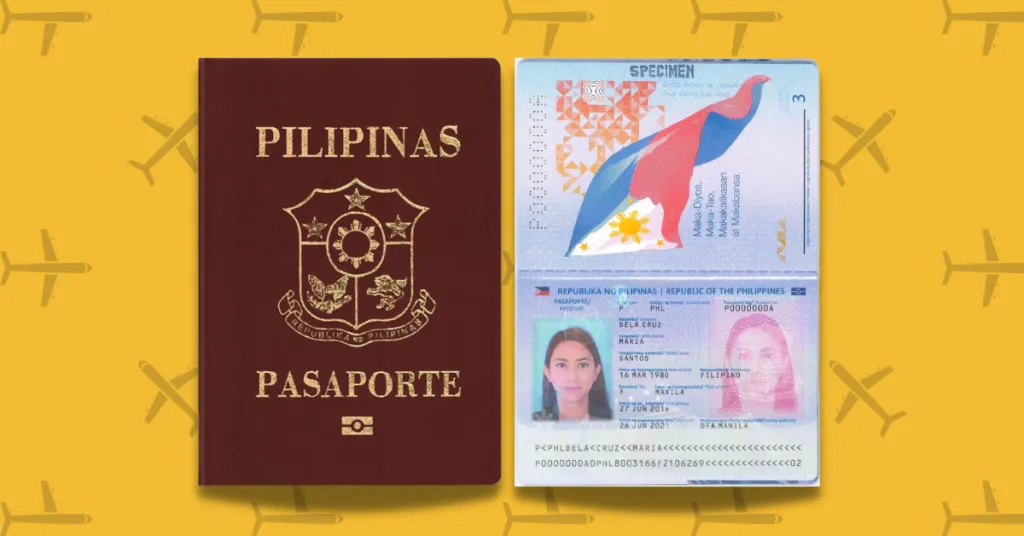
Every time someone I know receives his or her new passport, I almost never fail to hear this one predictable comment: “Ang pangit ko.”
We all dream of having a decent passport photo. And, we’re all still wondering how we can make that happen. I mean, that’s how you landed on this page, right?
If you’re an idealist, you probably have high hopes as you scan through this article. I’m sorry, but I’m here to break it to you: You can’t look good in your passport photo.
Don’t worry, hardly anyone can. It’s a hugely challenging feat that maybe even Helen of Troy would struggle with if she were alive to this day. Besides, there’s a reason why her face launched a thousand ships instead of a thousand aeroplanes. I’m pretty sure that immigration officers wouldn’t even budge at the sight of her passport photo.
If you’re still convinced that you have hope, then I won’t waste any more of your time. Here are some things that MIGHT help you achieve the impossible.
Disclaimer: I haven’t had a decent passport photo since the Department of Foreign Affairs (DFA) required applicants to have their photo taken at their branches. But, I did the liberty to do some research for you… and me. Let’s cross our fingers that these work.
Also read: An Open Letter to DFA: Why is Passport Processing so Troublesome?
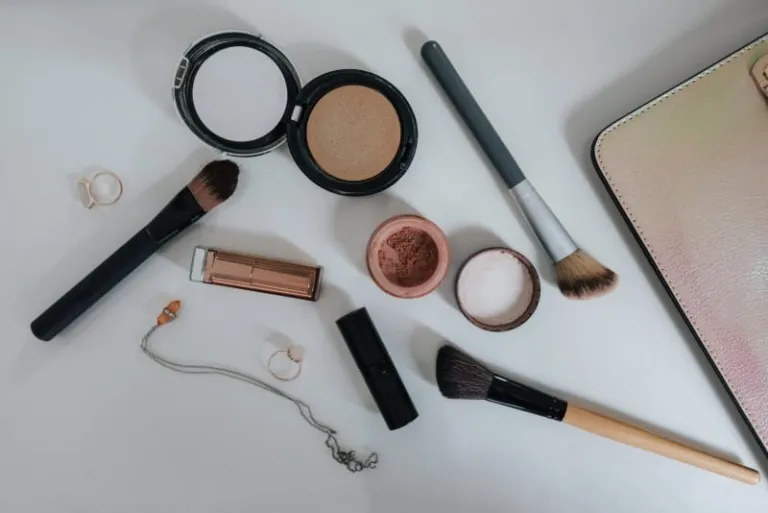
1. Wear light makeup
Go for a light foundation with a shade that matches your skin tone. More and more cosmetic brands have embraced the wide range of Filipino colour, so you won’t have much trouble with this. Apply concealer on red marks and dark spots, as passport photos have a special talent of overtly emphasising problem areas. For your undereyes, choose a concealer that’s a bit lighter than your skin. Set your face with powder to avoid looking like a disco ball. If you want to add on blush (no glitters!), lipstick (a my-lips-but-better shade), or bronzer, then that’s entirely up to you.
2. Do your hair

A good hair day can do wonders to your look. Before having your photo taken, make sure to fix your hair so that it doesn’t cover your face but also doesn’t look flat on camera. Stay away from complicated ‘dos — you might find parts of your hair edited out if the DFA decides it takes up too much space. Expecting a harsh commute? Bring coconut oil, as it will tame your mane effortlessly.
3. Wear flattering colours

Picking a decent outfit that doesn’t wash you out is especially important when getting your passport, as passport photos tend to make people appear grey-er than they actually are. Avoid wearing blue as well, lest you want to blend in with the royal blue passport photo background. Also, stay away from patterns. They won’t look good on camera at all.
4. Choose a good venue

Because of the tight schedule of passport appointments nationwide, having the chance to choose a DFA branch is almost a privilege. So, if you’re lucky enough to have choices, then choose wisely. I once heard through the grapevine that there are certain DFA branches that take better photos than others. I won’t be naming any specific branch as I don’t want to be a source of disappointment, so just take this point as a hint. Do your own research (maki-tsismis ka sa mga biyahero, bes!) and learn which branches produce better photos. If you find that impractical, then settle for the branch nearest you so you won’t end up looking extra haggard because of a long and tiring commute.
5. Bring a reflector

Seriously! A reflector ups your tiny chance of having a good passport photo as it fixes unflattering shadows. Hold it under your face, around the waist area, as you have your photo taken, and you can say goodbye to those under eye circles. If you don’t have a reflector, you don’t need to buy one. Improvise with a white sheet of paper or cardboard instead.
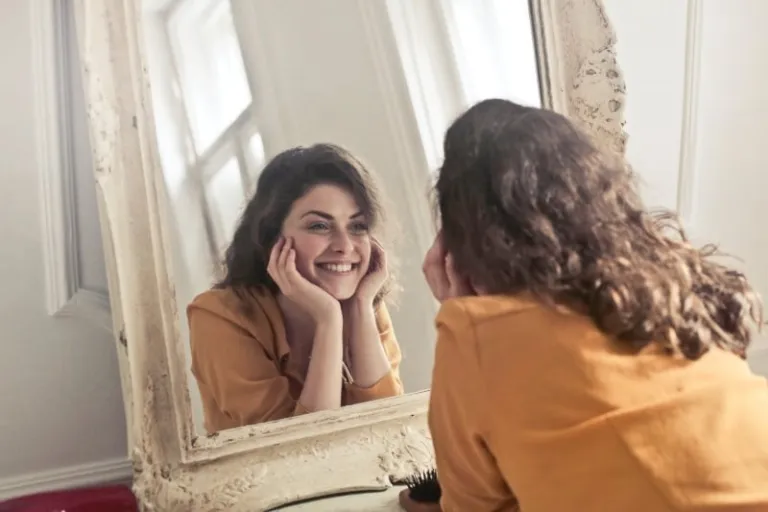
6. Practice your smile

There’s a very few number of chosen people who can smile-pero-medyo-lang and still look good. But for the most of us who can only go either full bungisngis or constipated, then smiling for the passport gets a bit complicated without days of practice.
7. Sleep early

Keep your face looking well-rested by actually resting well. Upon waking up, treat yourself kindly. Think happy thoughts! Maybe even equip your phone with your favourite movies or shows to keep you company as you wait for your turn. DO NOT watch movies that will make you cry, unless you want puffy eyes (been there, done that). You can cry afterwards instead, you know, once you receive your passport.
8. Be camera-ready at all times

Once you get in position, immediately make yourself camera-ready. For some inexplicable reason, passport photographers like surprising us with taking our photos before we’re ready. So, surprise them and be prepared at all times. It may feel awkward to gaze into the camera for so long, but at least you’re not taken off guard once it snaps.
Also read: 8 Things You Should NEVER Do To Your Philippine Passport
Let us know if you’ve ever conquered this passport photo challenge. If not, remember: It’s the inside that counts.
Published at
About Author
Danielle Uy
Subscribe our Newsletter
Get our weekly tips and travel news!
Recommended Articles
10 Best Banawe Restaurants for a Mouthwatering Food Trip in QC 14 Best Credit Cards for Travel in the Philippines The only plastic we need for travel.
10 Commandments for Responsible Travel Flexing Spread the good word!
10 Tips for Planning Out-of-Town Trips During Typhoon Season Stay safe and travel well during the rainy season.
12 Most Colourful Natural Attractions Around The World! It’s time to cross over the rainbow!
Latest Articles
Pangasinan Town Now Accepts Digital Payments in Markets and Transport No cash? No problem. Alcala, Pangasinan is officially in its digital era.
Pop Mart PH Opens Permanent Flagship Store in SM Megamall Labubu and Hirono have arrived! Check out holiday hours and event recaps here!
Chen of EXO Arcadia Concert Manila 2026: Tickets, Dates, and Perks Ticket info and fan perks
TLC Playpark: Free Christmas Destination in Taguig, Opening Hours, and Commute Guide Learn what to expect and how to get to TLC Playpark in Brgy. Lower Bicutan Taguig via C5 and MRT-3!
Free MRT and LRT Rides for LGBTQIA+ Members and Solo Parents Today Who rides free today


