Our favourite places to stay on this sleepy Cebu island.
My Pico de Loro Ascent and What Every First Time Climber Should Know About
Contributed by Jundy’s Place
One of the hottest tourist destinations in Cavite, Batangas right now is Pico de Loro, and its popularity is growing not only to mountaineers but to common travellers and adventure-seekers who want something a bit challenging.
History
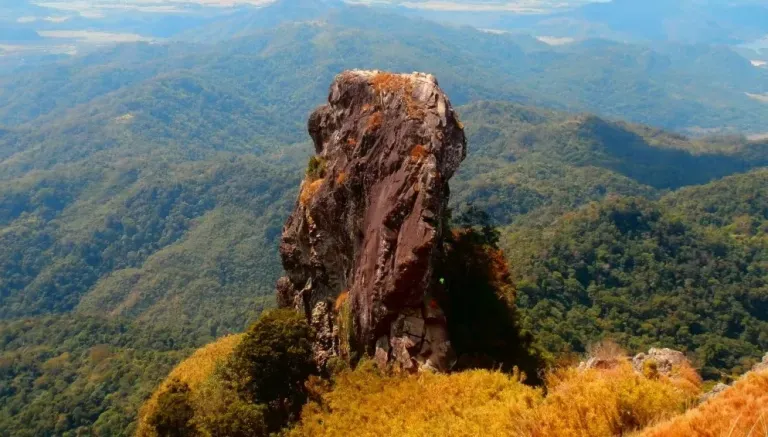
Pico De Loro, which translates to “Parrot’s Beak”, was named such by the Spanish sea-farers because its pointed summit resembles the shape of a parrot’s beak from afar. It was used as a signal by sea-farers to turn east to get to Manila Bay.
Also read: Top 10 Mountains in Philippines With the Most Incredible Views
Precautions
If this is your first mountain climb and you are planning to go there, here are the things to keep in mind.
First, going up there is not easy. It will take you 2-4 hours or more depending on your speed, or if you prefer distance it is 2 km. But keep in mind that you are not going to walk on pavement. It’s forest that we are talking about.
Second, cover your legs, arms and hands. This is to protect you from having scratches or wounds during hiking.
Third, wear comfortable hiking shoes and extra slippers. You might need to change footwear depending on the trail. Fourth, Pico de Loro is 2,246 feet or 685 metres above sea level. The ascent to the summit from the campsite is difficult due to a very steep slope and the sand-like characteristic of some parts of the path. So, if you have acrophobia or fear of heights and the like, you must prepare and condition yourself before deciding to do it.
How to get there
From Manila
We went to Coastal Mall at 4:00 AM and departed at 4:30 AM to Ternate. The fare is ₱65. We asked the driver to drop us off at the motorcycle terminal to the DENR office in Ternate. At 6:00 AM we arrived at Ternate and we rode tricycles for ₱75/head. At DENR office, we paid ₱25 each as registration fee. Time check: 6:30 AM.
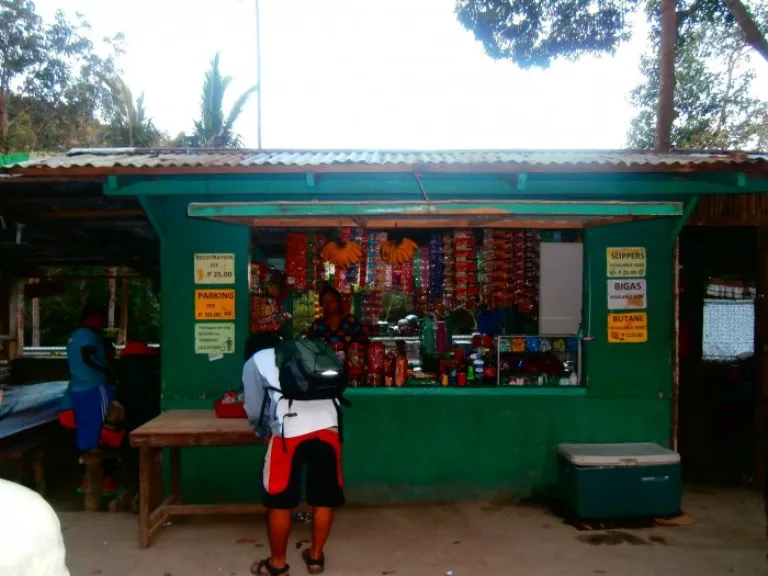 Pico de Loro DENR registration.
The journey starts now…
Right after we bought some supplies like boiled egg, candies and water, we started our hike to the jump-off point where one of their staff guided us. The only instruction that we received from him was, “This path is new, and you won’t get lost because there is no other path to Pico de Loro. Just follow the trail.” In addition, just keep in mind that if there’s an intersection, choose the “right” path. Time check: 6:45 AM.
 Getting ready for a long hike ahead.
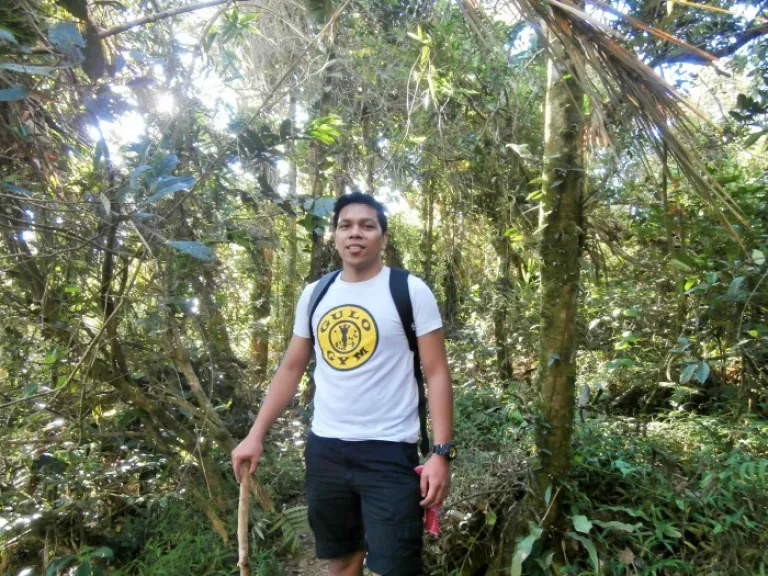
Below were the beautiful sites along the way. We were dwarfed by the towering trees.

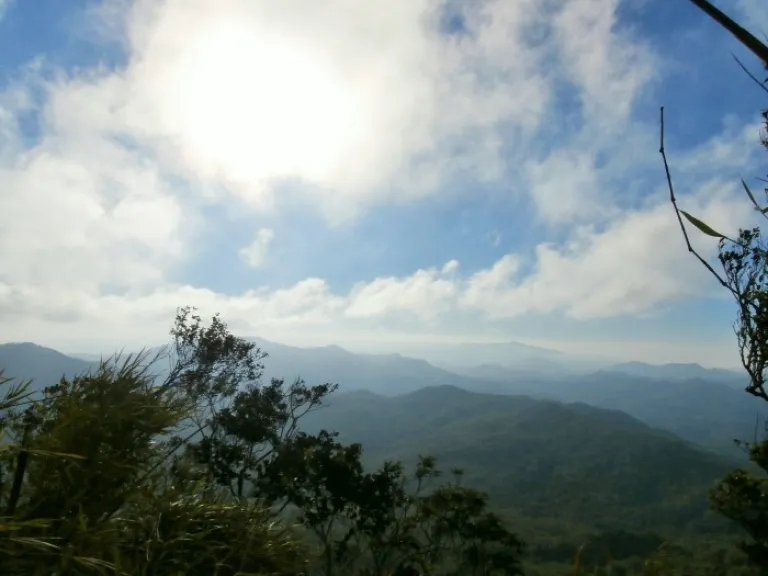
The path leads us to the summit of the mountain. We thought that we were near, but no, we’re not! But it gave us a very nice look of Pico de Loro and this view convinced me that name “Parrot’s Beak” really suits well.
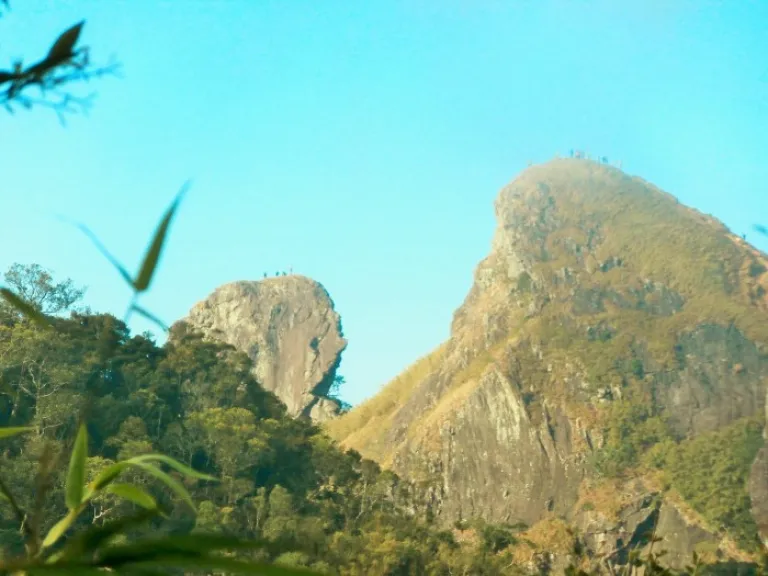 Parrot’s Beak, now I know!
Campsite
After 3 hours of hiking including short breaks and rest, we arrived at the campsite. There are stores here that sell all sorts of snacks, drinks, “lugaw with egg”, and “halo-halo”. This location is also an ideal place to take pictures where you can get the best view of Pico de Loro. We ate our lunch here and took some time to gather our inner strength for the last push to the summit. All of us didn’t have any idea how difficult and how steep the slope is, so we were just all excited. At around 11:00 AM, we started our journey to the summit.
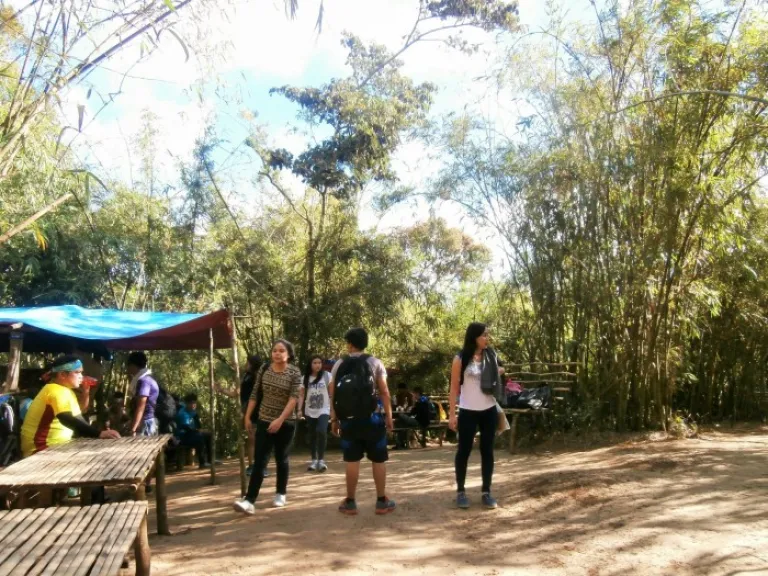 Campsite near Pico de Loro peaks. This campsite has stores and now has a make-shift CR.
 The amazingly beautiful Pico de Loro as my Background. Nice!
To the summit
The trail to the summit was the most challenging and very dangerous part of this hike, because of the steep slope. Here are some of the pictures I took to give my readers an idea of the summit.
 This is the beginning of the ascent to the summit from the campsite. Still not that difficult because there are a lot of bamboos and roots where we can hold to help us with the climb.
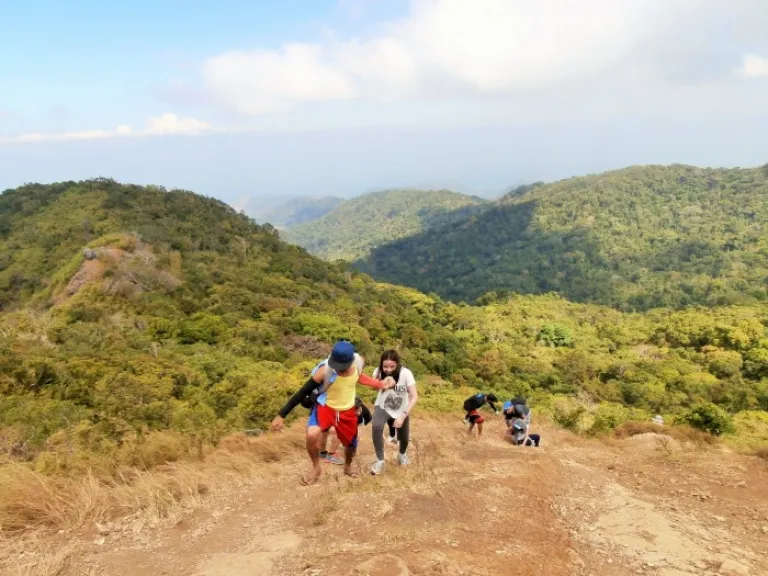 The final ascent to the summit. This is a very difficult trail because the only available option to hold is the grass which is near the edge of the mountain. The texture of the soil is prone to erosion.
My first summit
The sweat, body pains and the fatigue were all worth it after we saw what we came for. 2,246 feet above sea level, the view was amazing, even though our legs were still shaking.
 The other half of the beak! The feeling of “I want to go there” is growing.
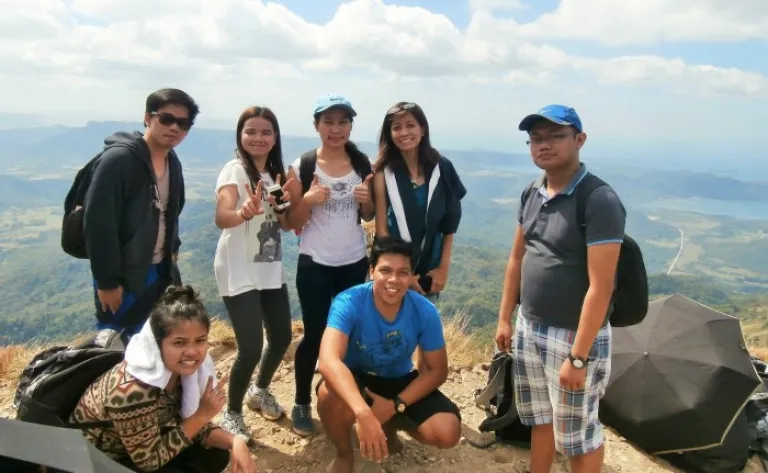 The first-timers
Also read: 12 Types of Trips to Take in the Philippines at Least Once in Your Life
The monolith
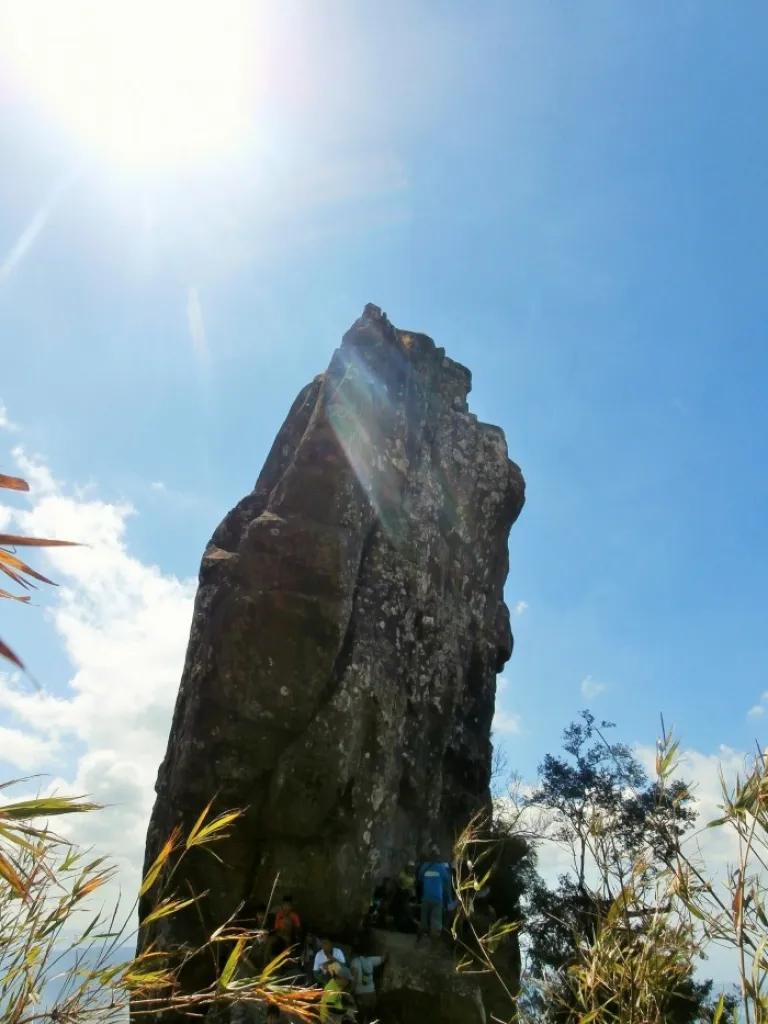 The gigantic monolith.
 Vandals. Vandals everywhere!
If the summit was difficult and challenging, the monolith was not that difficult if you know how to rappel. The descent from the summit to the monolith was not difficult compared to the ascent to the summit because the path is rocky and we can have a firm grip going down.
Mission accomplished
We waited for more than an hour before we were able to get to the top because there were many people queuing for a chance to climb the monolith. It was an inexplicable feeling to conquer one of my fears, the fear of heights. The icing on the cake was no other than standing at the monolith and looking down.
 Success! With heart-pounding climb to this monolith, the feeling of being here is very overwhelming.
Traverse
Pico de Loro to Nasugbu
Due to the difficulty of the trail back to Ternate, we decided to traverse to Nasugbu, Batangas. This will give us an easy way, plus we can explore further. We also hired a guide for ₱100 per person to help us along the way due to the difficulty of the trail we experienced so far. The hike was a little difficult near the monolith because it was so steep. It took us 2 and a half hours to reach the firing range where there is a motorcycle terminal to Nasugbu for ₱150 per person. Travel time is about an hour. From Nasugbu, we rode DLTB bus to Buendia. The fare is ₱160.
Itinerary
Below are the full details of the itinerary and budget.
| Time | Activity | Expenses | Particulars |
| 4:00 AM | Coastal Mall meet up | ||
| 4:30 AM | Departure at Coastal Mall | ₱60 | Bus fare |
| 6:00 AM | Arrival at Ternate, Cavite and ride trike to DENR office | ₱75 | Trike fare |
| 6:30 AM | Registration at DENR office and last minute preparation | ₱25 | Registration fee |
| 6:45 AM | Jump-off point | ||
| 9:30 AM | Arrival at Campsite and Photo op | ||
| 10:30 AM | Lunch | ₱50 | Food, brought from home |
| 11:00 AM | Hike to the Summit | ||
| 11:30 AM | Summit! Photo op | ||
| 12:00 PM | Monolith queuing | ||
| 1:00 PM | Monolith Photo op | ||
| 1:30 PM | Start of the Traverse to Nasugbu | ₱100 | Guide |
| 4:00 PM | Arrival at the firing range and motorcycle terminal | ₱150 | Trike fare |
| 5:00 PM | Nasugbu downtown and Dinner | ₱100 | Food |
| 6:00 PM | DLTBco Terminal to Buendia | ₱160 | Bus fare |
| 10:00 PM | Arrival at Buendia | ||
| Total | ₱720 |
Also read: 10 Beginner-Friendly Hiking Trails in the Philippines
Published at
About Author
Jundy Cosmod
Subscribe our Newsletter
Get our weekly tips and travel news!
Recommended Articles
10 Bantayan Island Resorts, Hotels, and Rentals for Your Tropical Escape 10 Best Mountain Cafes in the Philippines for Your Peak Coffee Experience Coffee date on the mountains, anyone?
My 10-Day Southern Vietnam Backpacking Trip for Less Than ₱15k 10 days in Southern Vietnam with less than ₱15k budget. Learn how this Filipina did it!
10 Family Outing Ideas in Metro Manila Under ₱500 Looking for a weekend bonding with the family under ₱500? Head to these places, pronto!
10 Fun Things to Do in Manila Alone Live your best life in Manila, even when you’re riding solo.
Latest Articles
Mango Ranch Waterpark: Negros Oriental’s Hottest New Attraction Make a splash at Negros Oriental’s newest adventure hotspot!
Nagsasa Cove Zambales Travel Guide: Hidden Beach Escape A serene cove for campers and chill seekers
A Must-Visit Food Destination in Japan: Restaurant of Mistaken Orders A must-visit where mistakes make meals memorable!
Best Travel Gifts for Travellers: Practical and Thoughtful Ideas for 2025 Top Travel Gift Ideas for 2025
Your Ultimate Guide to Must-Visit Summer Destinations in the Philippines Perfect for adventure seekers and beach lovers!

