10 days in Southern Vietnam with less than ₱15k budget. Learn how this Filipina did it!
My Solo Spring Trip to Japan: Where to Spot Cherry Blossoms, Tips & Expenses
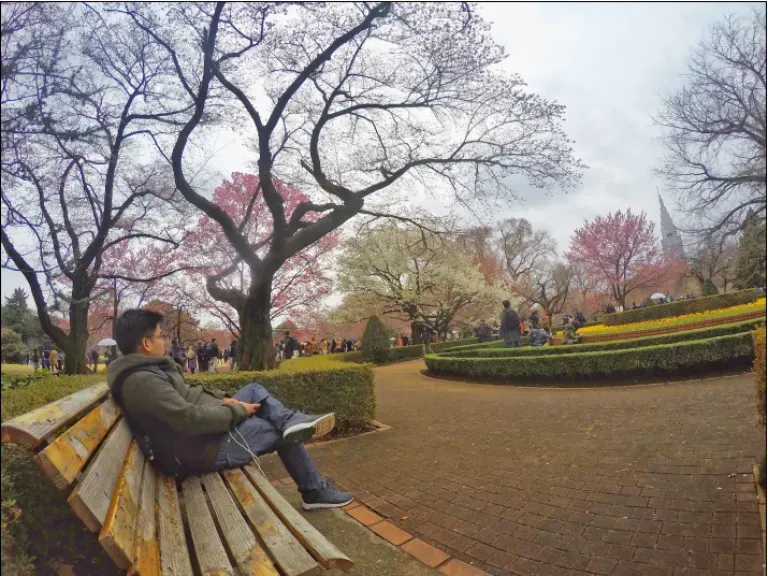
Contributed by Momo Talamayan
Japan’s Cherry Blossom is truly a sight to behold. These trees are more than just a beautiful flowering tree for the Japanese as they represent the fragility and the beauty of life. These trees only last for a short period which is a reminder that life is overwhelmingly beautiful but is also short.
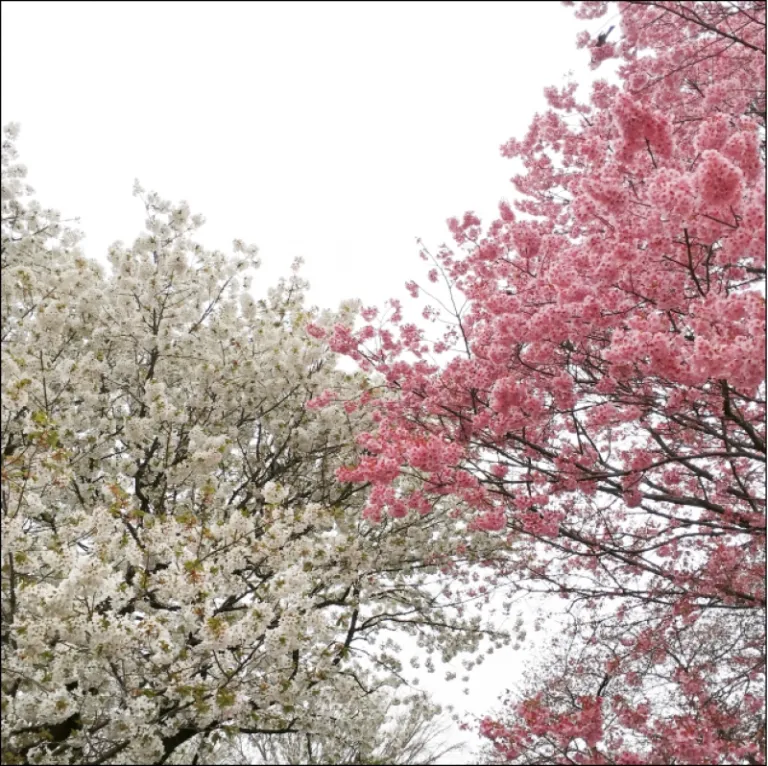
Japan has always been in my bucket list ever since I discovered my passion for travel. Before, it was just a dream as I thought I won’t afford to go there because it was once the most expensive country in the world and is still one today. But after reading a lot of blogs, I realised it is possible to see Japan without breaking the bank.
A lot of my friends are asking me how much one should need to have a satisfactory travel in the Land of the Rising Sun. It will all depend on what are you going to do, which places you’d like to see, where you will stay and how long you want to stay.
So I’m sharing my itinerary and expenses on my recent trip. Btw, this is my 3rd time in Japan. I first went to Tokyo last Autumn (October 2016). I fell in love so much with Japan after that trip, it made me add two more in my bucket list; to visit Japan in Winter and in Spring. So I went to Kyoto and Osaka last February 2017 for my winter, and luckily, there was a snowfall on our first night in Kyoto. And I went back solo last March to early April 2017 in Tokyo and that’s what I’m going to share.
But first…
How to apply for a visa?
A visa is required for Philippine Passport holders to enter Japan.
The Japanese Embassy is no longer accepting walk-in applications. All applications are instead coursed through accredited travel agencies. Visit the website of the Embassy of Japan in the Philippines for the complete list of agencies and requirements in applying for a visa. Japan has undoubtedly relaxed its visa policies towards Filipinos, adding to it is the rise of Low-Cost Carriers (LCC) like Cebu Pacific, making it more affordable and easier to go to Japan.
As for my visa, I have applied through Discovery Tours in Makati since they offer the cheapest service fee which is ₱800. I got a Multiple Entry Visa on my third application. Cheers to more Japan Travels!
Also read: Easy Japan Tourist Visa Guide for Filipinos
Being able to see Japan in three different seasons, I can say that there’s really no best season to visit this country because every season has its own unique characteristics. But if I had to choose one, it will be Spring, mainly because of the temperature (not too cold and not too hot) and the good vibe around seeing families and friends ceremoniously gather in large groups.
Where to spot cherry blossoms in Tokyo
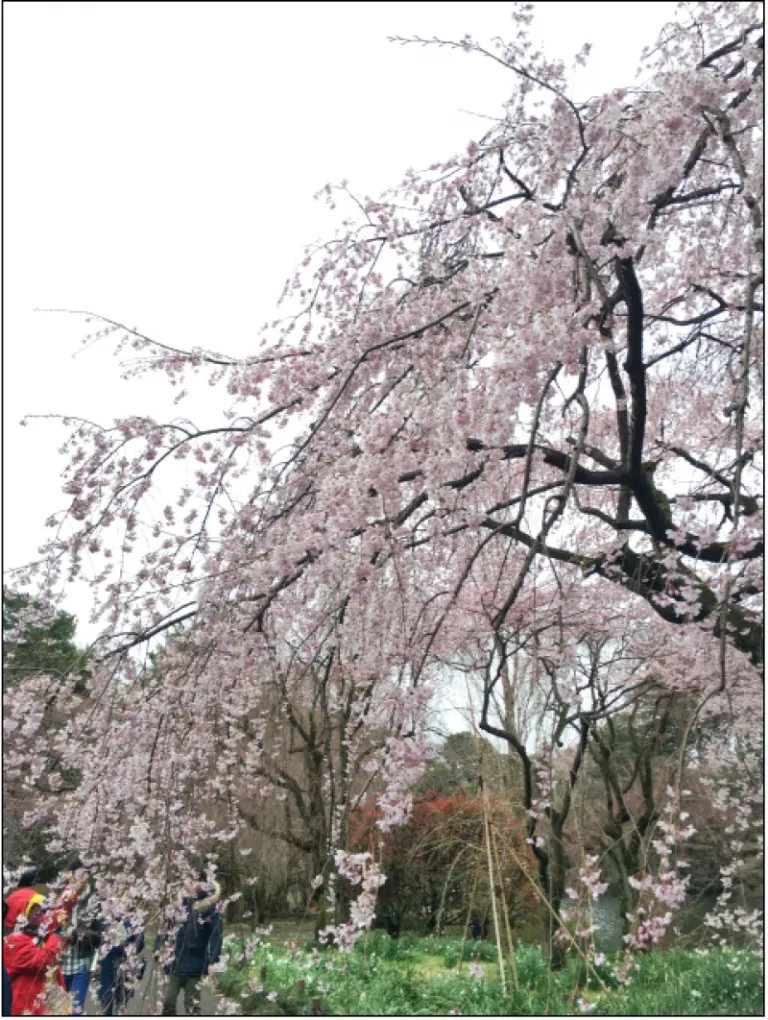
Since it’s my second time to visit Tokyo, I only focused on where to see the cherry blossoms or sakura.
Also read: 9 Cherry Blossom Destinations Beyond Japan, Korea & Taiwan
1. Ueno Park
Ueno Park is undeniably the most favourite spot to view Cherry Blossoms. It has more than 1,000 trees making it so stunning especially when it is in full bloom, be it day or night. Expect it to be jampacked though. It is just few minutes away from Ueno Station.
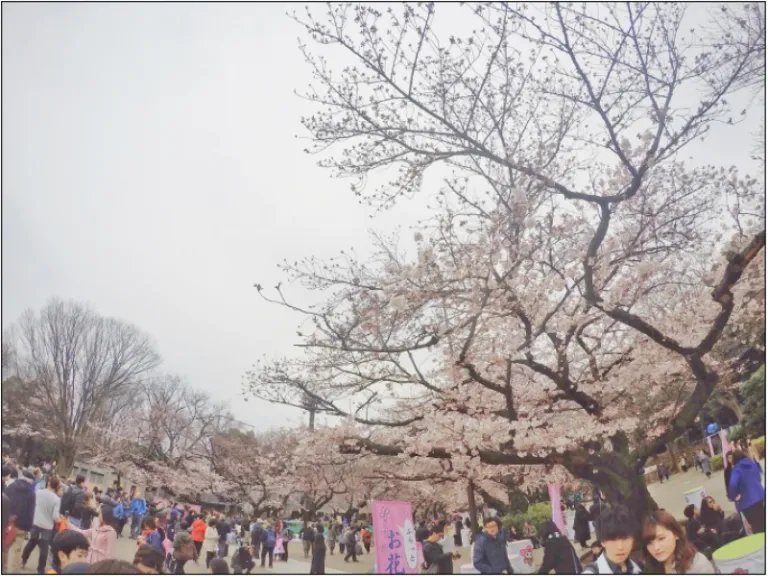
How to go there: There are many exits leading to the park but I exited at JR Shinobazu Exit. If coming from Subway lines, just follow the signs leading to the Park.
Admission: Free
2. Yoyogi Park
Yoyogi Park has over 600 cherry trees and is very spacious so you don’t have to worry if you plan to have a picnic here.
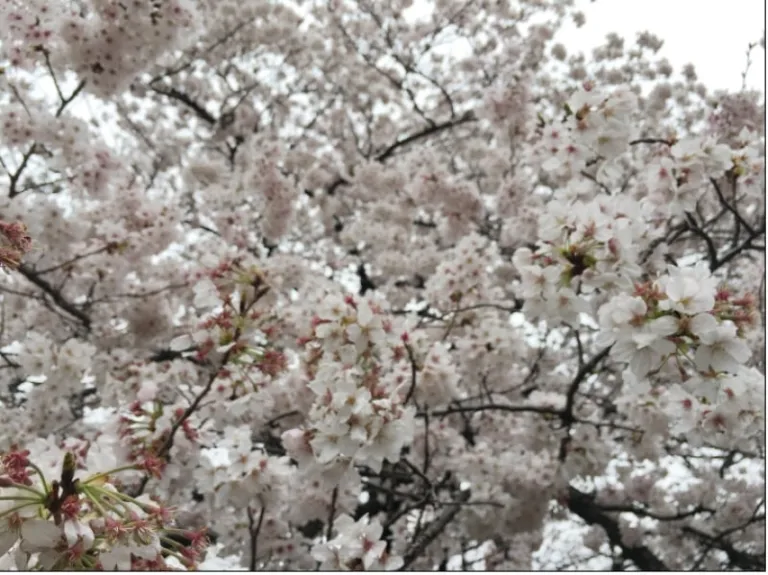
How to go there: Get off at Yoyogikoen Station of the Chiyoda Line West Gate, three minutes on foot.
Admission: Free
Tip: From here, you can go as well to Meiji Shrine, just use Google Maps to know the way.
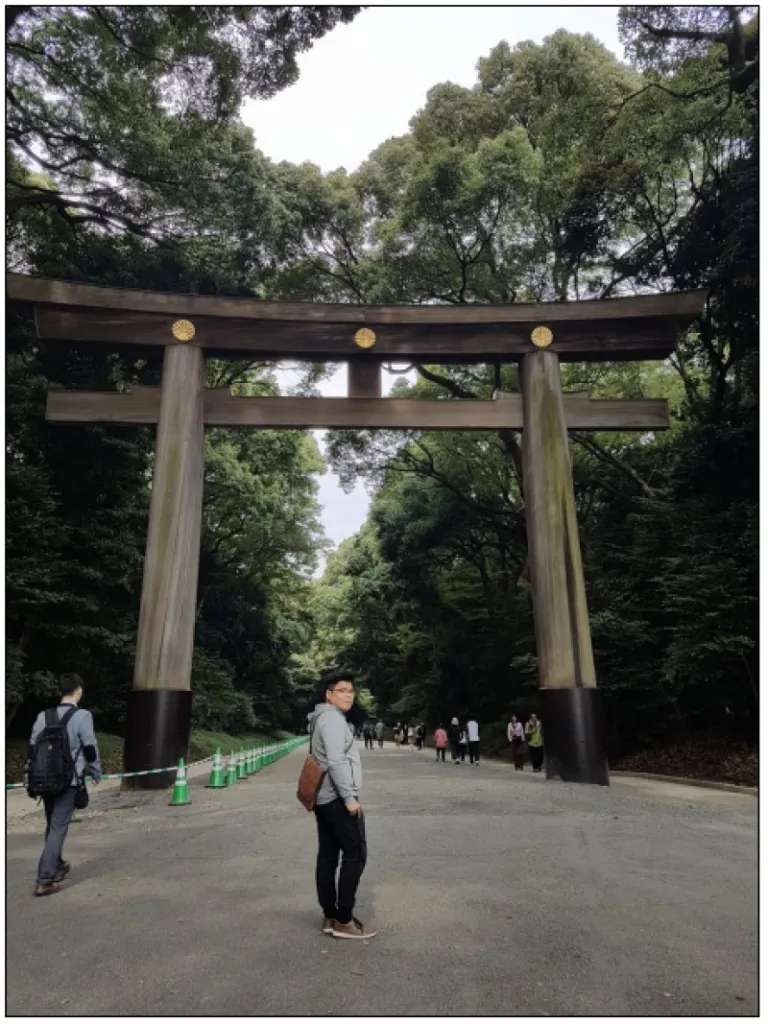
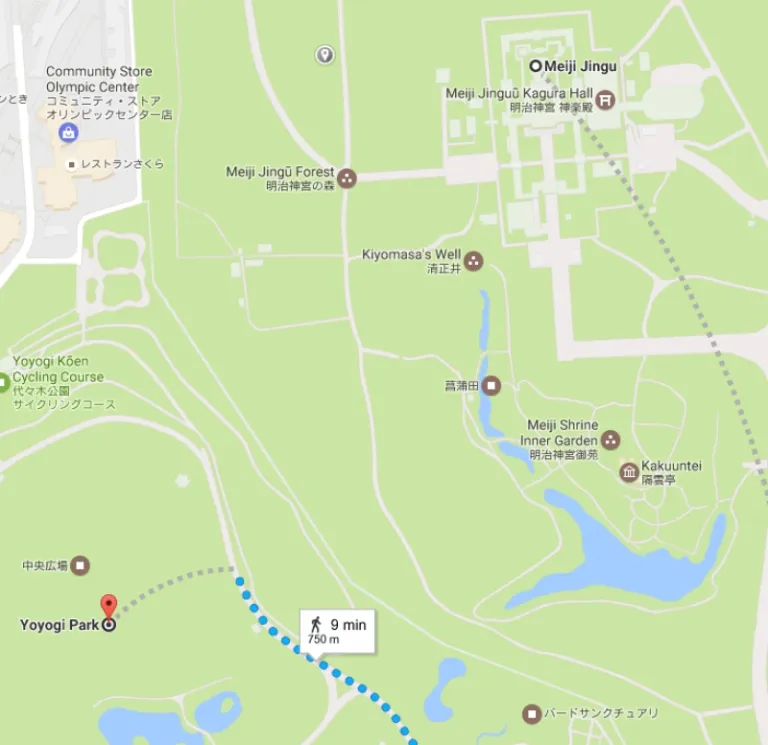
3. Shinjuku Gyoen National Park
Shinjuku Gyoen boasts more than a thousand cherry blossom trees, some of which are already in its full glory and some are about to reach its full glory.
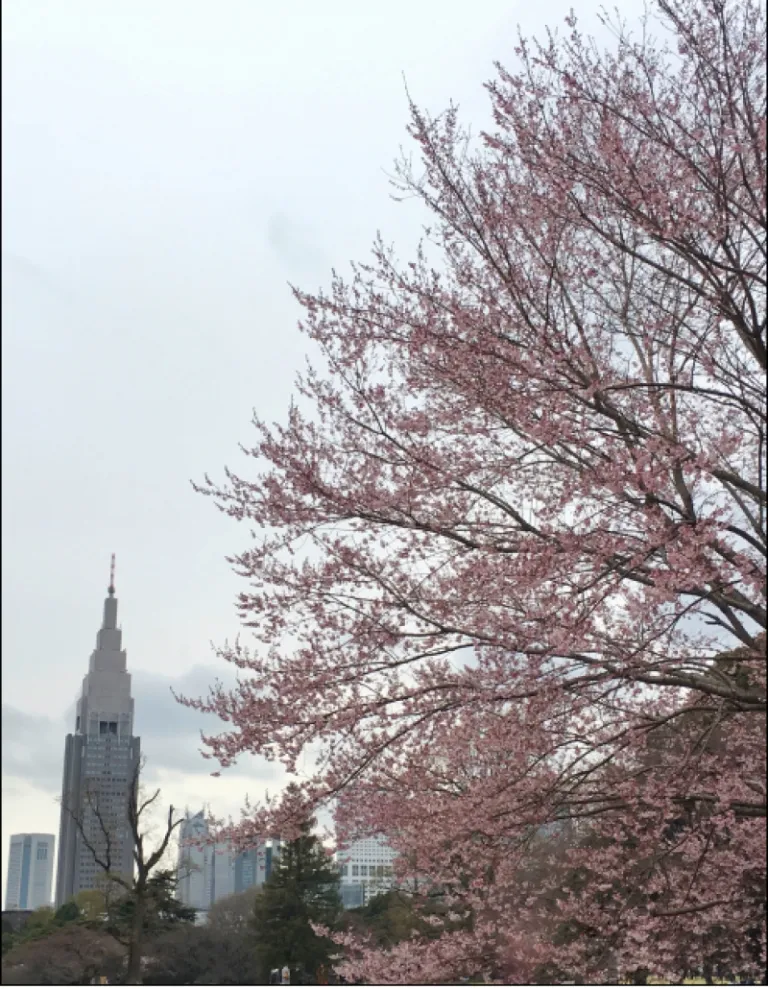
How to go there: Get off at Shinjukugyoen-Mae Station of the Maranouchi Line Exit 1, five mins on foot.
Admission: ¥200
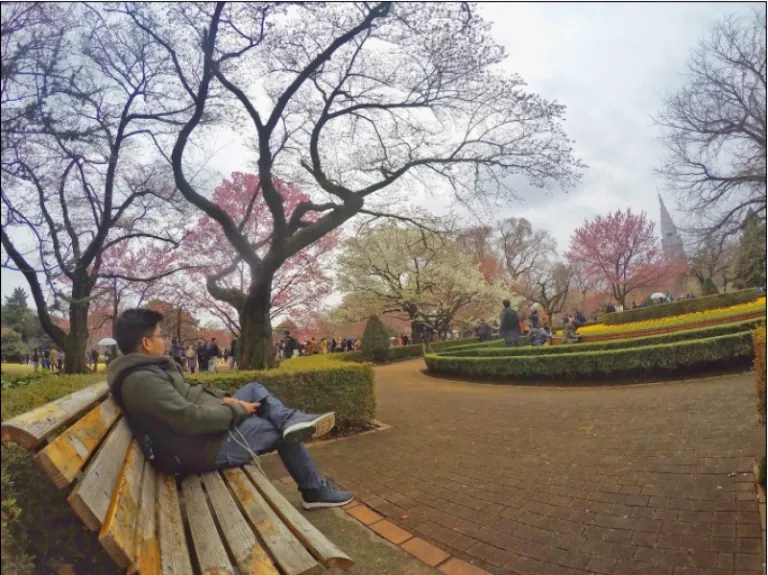
4. Chidorigafuchi Park
There are around 260 cherry blossom trees in this 700m pedestrian path, located west of the Imperial Palace. These trees are lit up at night when it is at its peak. Unfortunately, they are not on its full glory during my visit and I have just known that they bloom slightly late compared to trees in Ueno Park and Shinjuku Gyoen National Park.
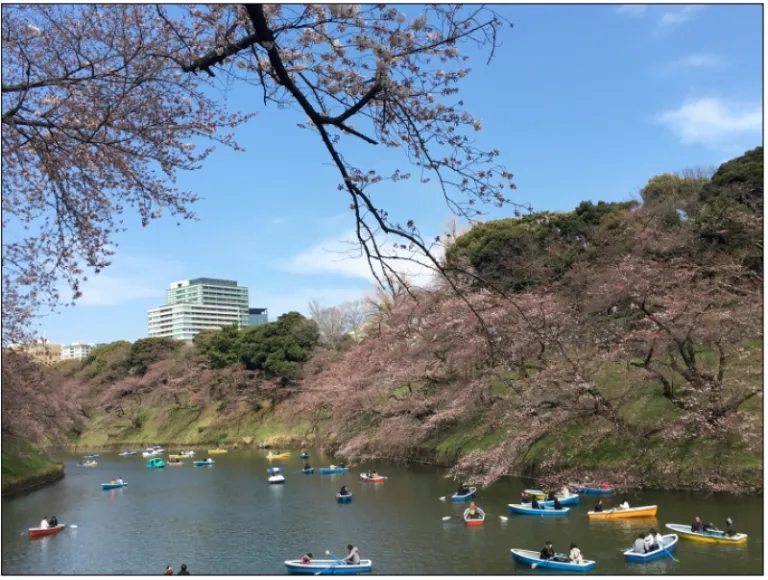
How to go there: Get off at Hanzomon Station of the Hanzomon Line Exit 5 and 5 minutes on foot. You can also alight at Kudanshita Station.
Admission: Free
Tip: From here, you can go as well to Yasukuni Shrine, just few metres away. Again, just use Google Maps. Outside this Shrine is a line of Sakura Trees in the street. So I didn’t bother to enter the Shrine anymore as I am already satisfied.
5. Sumida River with a view of Tokyo Skytree
With over 600 trees of varieties including the Somei Yoshino and Oshima-zakura, it is undeniably one of the best spots to see sakura. People enjoy the blossoms along the riverbank with a view of the Tokyo Skytree. Or delight in the magnificent view of trees when it is illuminated at night, which I intentionally did so I can also see Sakura’s grandeur at night, adding the impressive lights of the Skytree Building.
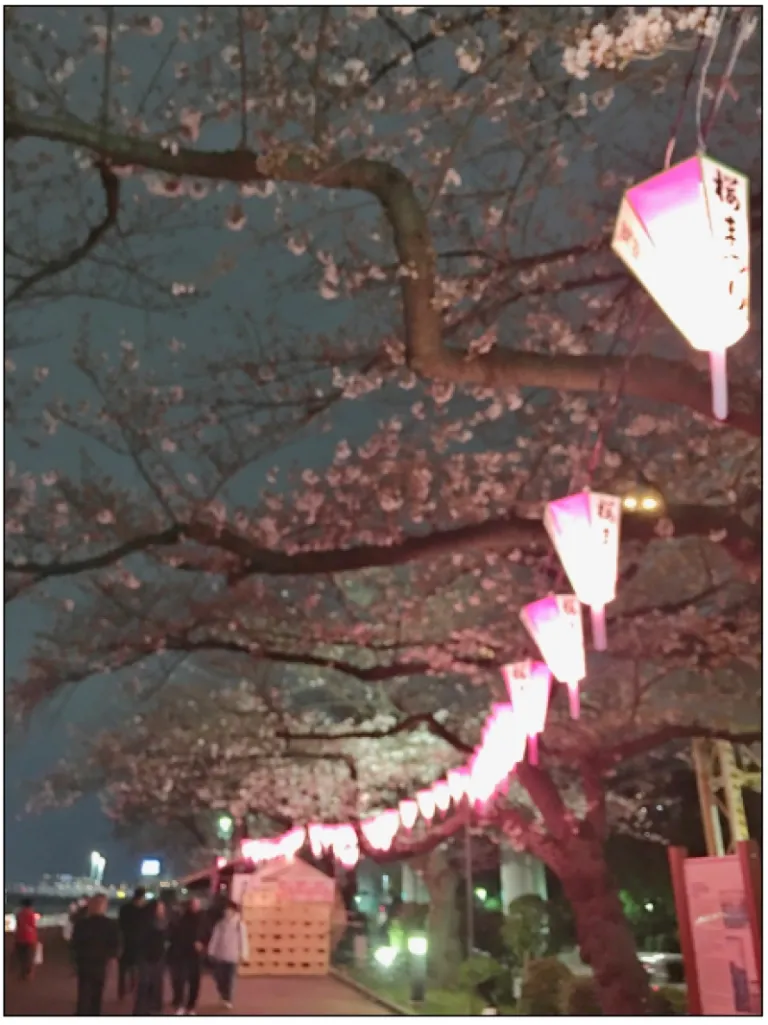
How to go there: Get off at Asakusa Station of the Ginza and Asakusa Line.
Tip: From here, you can go as well to Nakamise Street for Souvenirs and behind it is the Sensoji Temple.
There are many more beautiful and Insta-worthy places to visit in Tokyo which I visited on my first trip last October 2016.
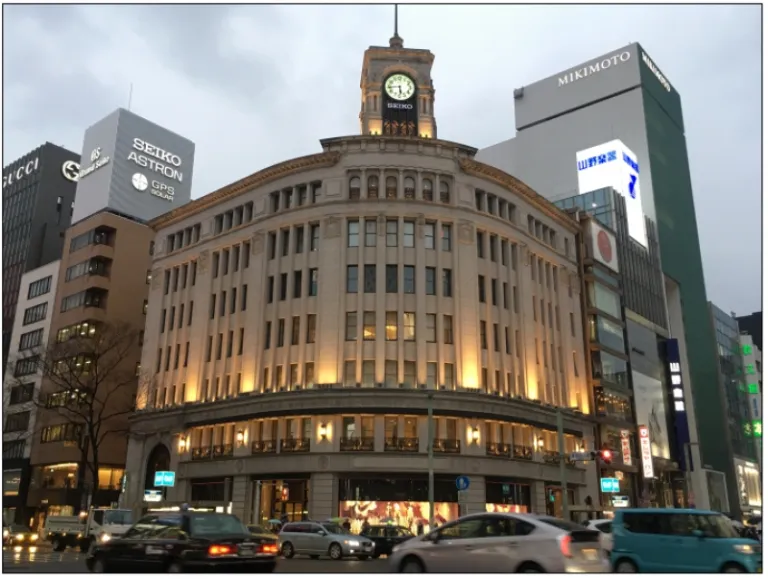
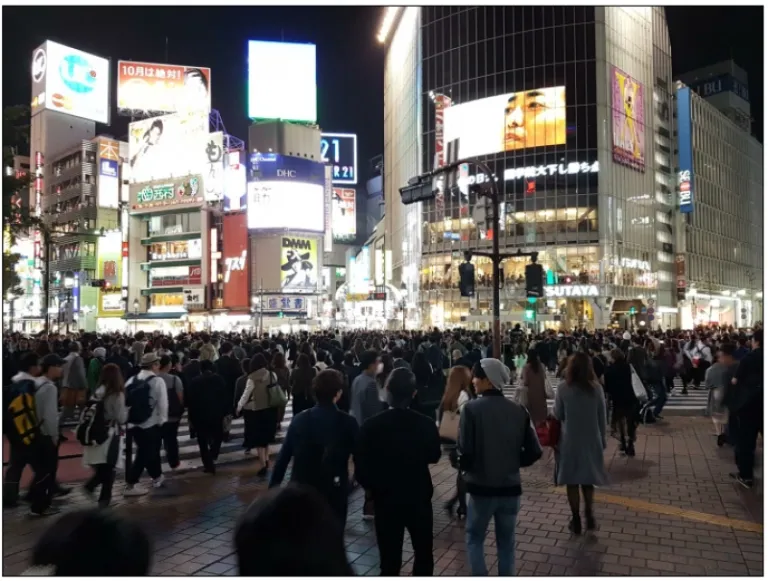
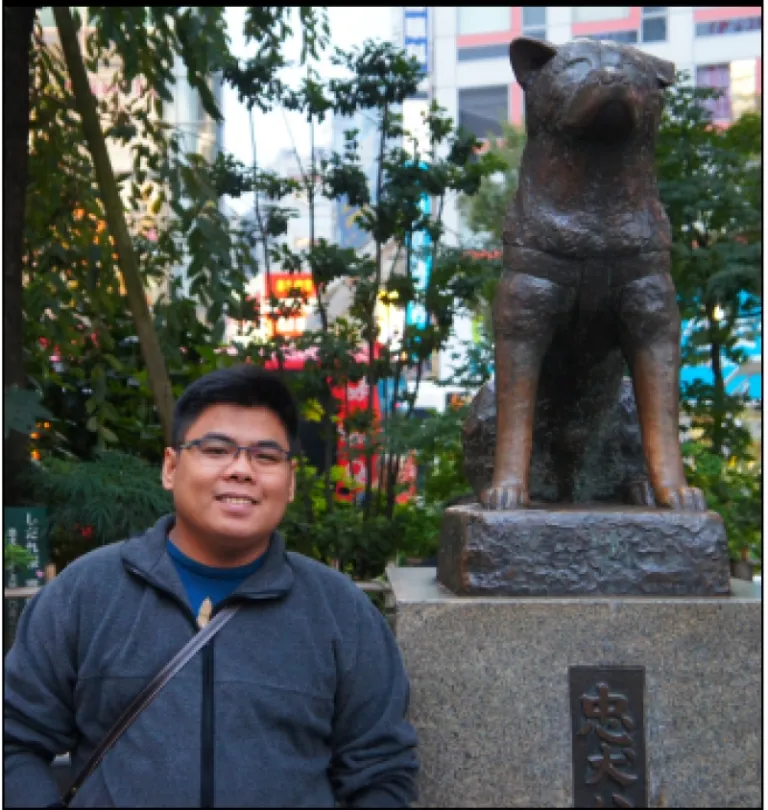
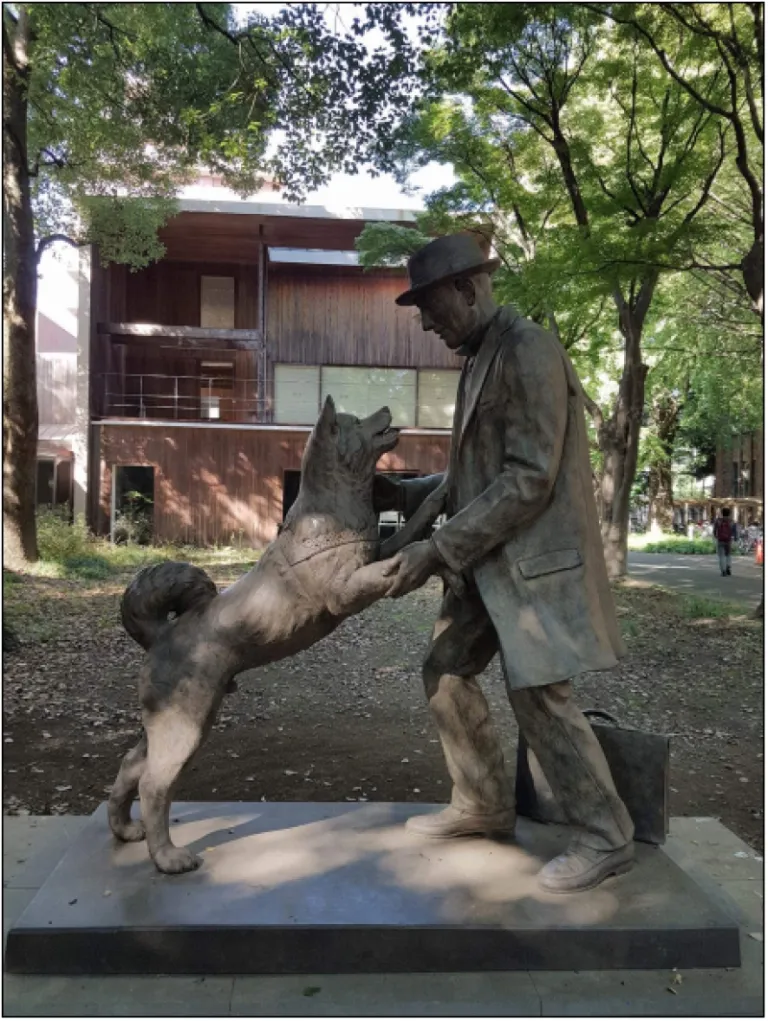
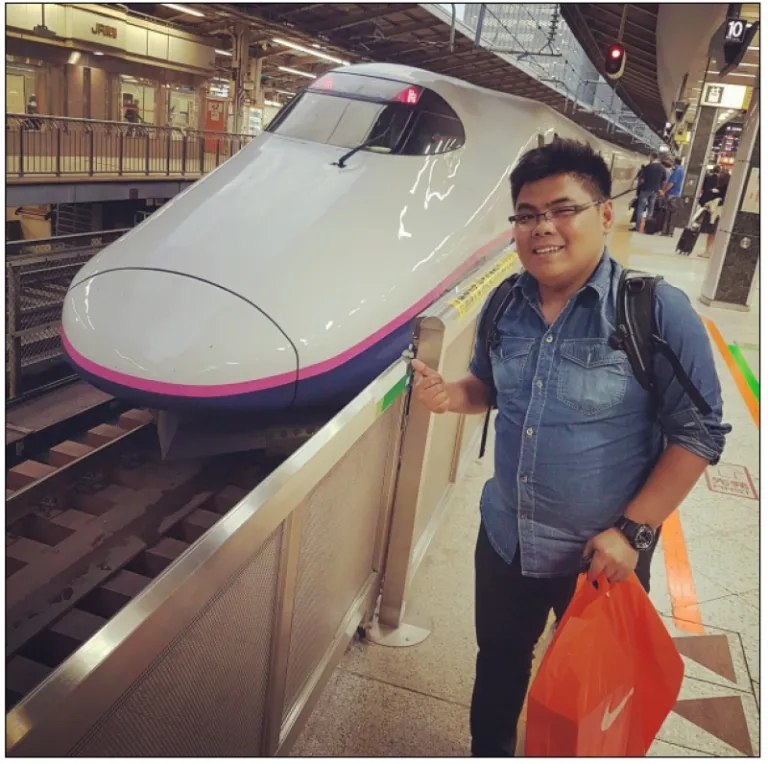
Just to give you an idea where to go, here are some pictures taken on my first trip to Tokyo last October 2016
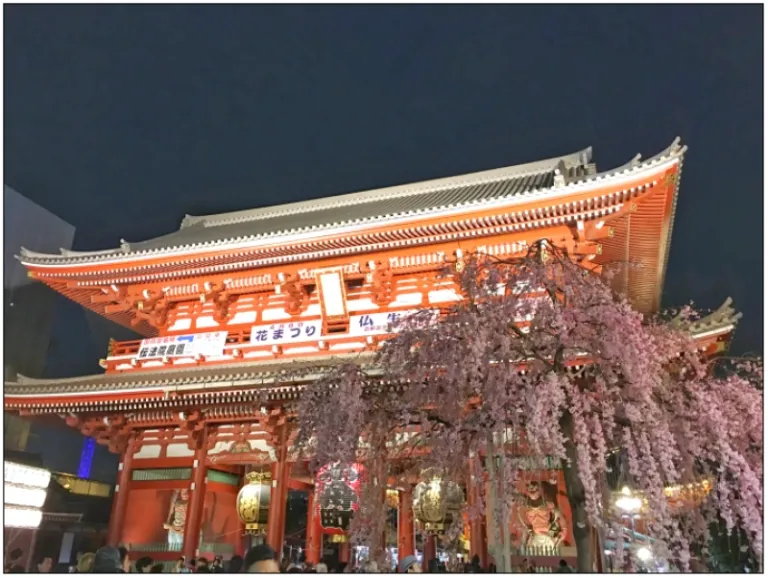
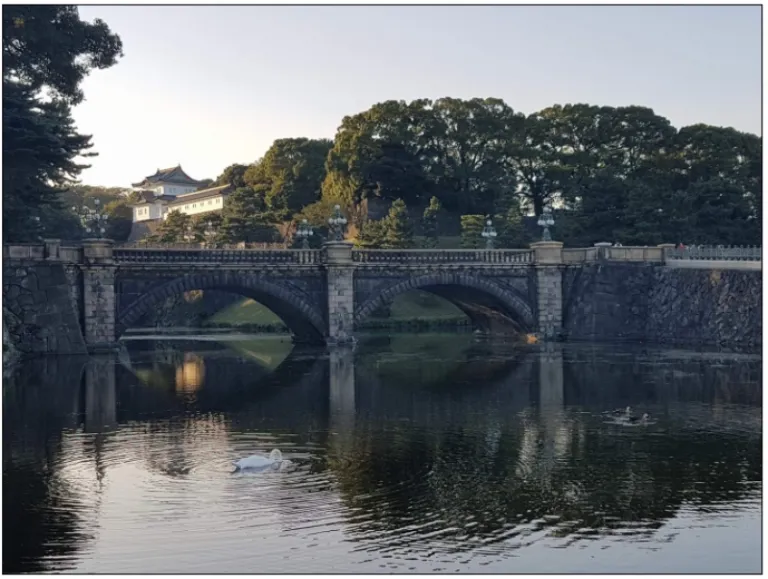
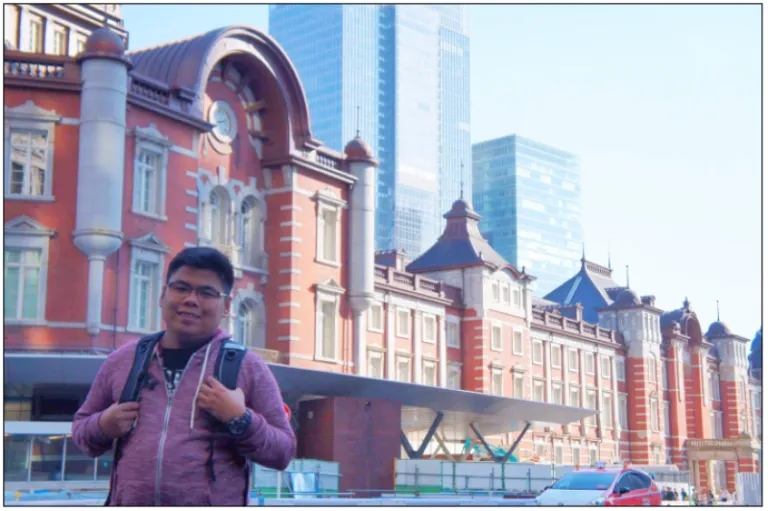
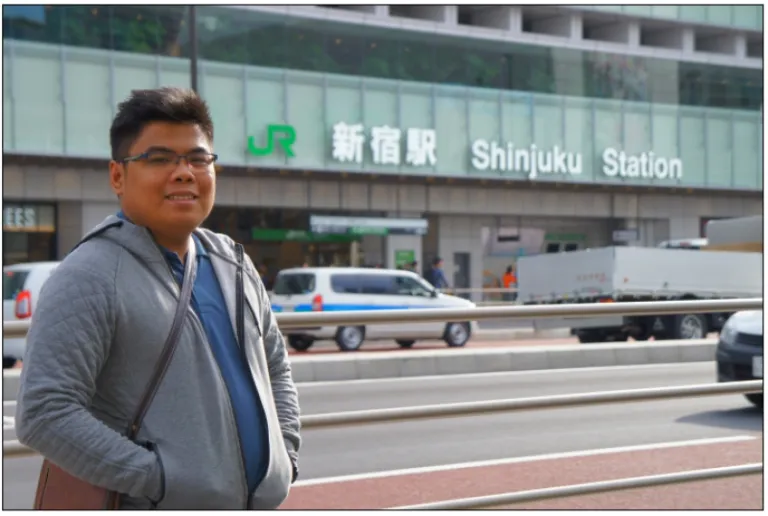
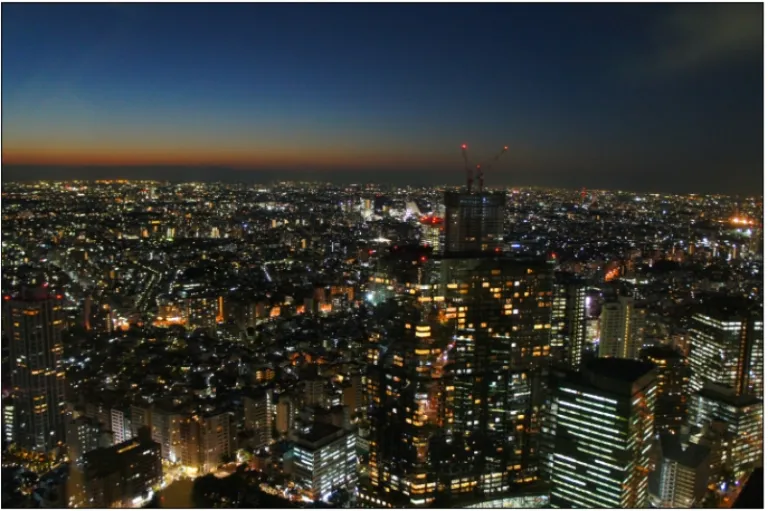
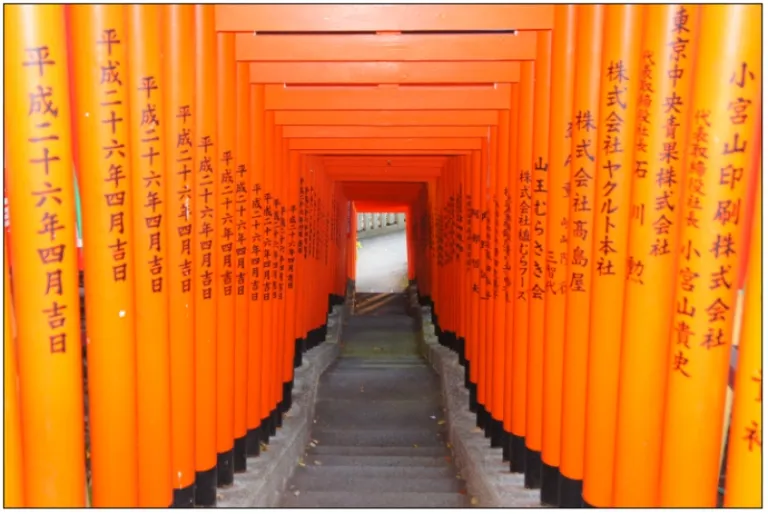
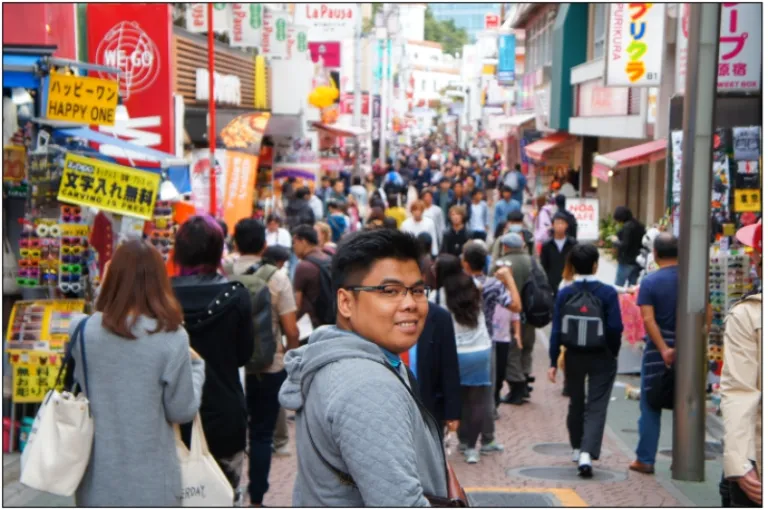
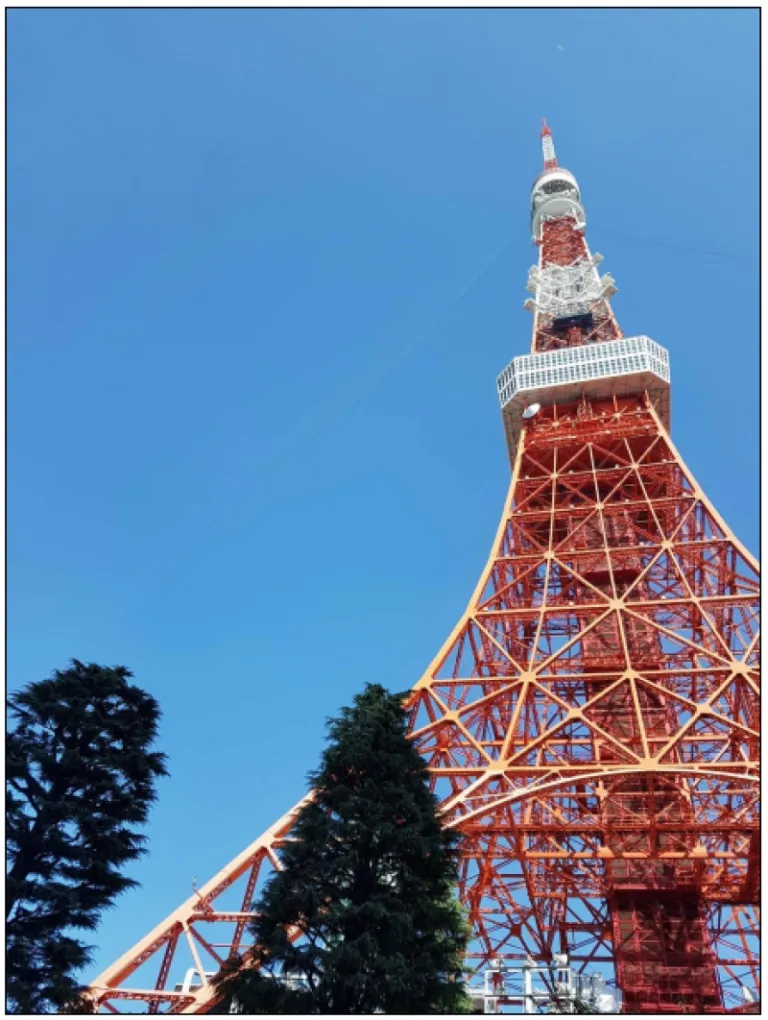
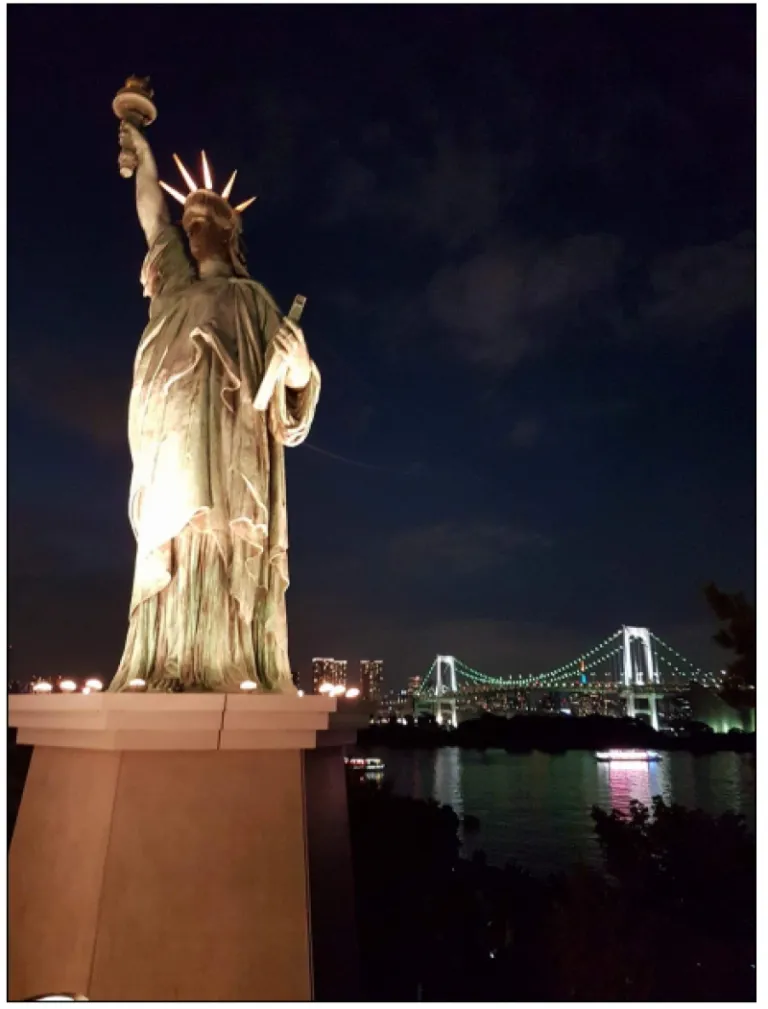
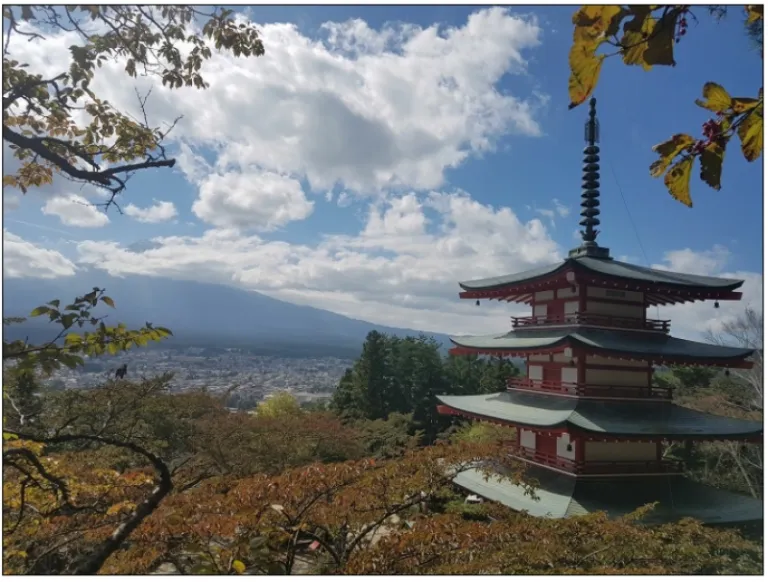
You can also have a day trip in Fuji. Pray that it won’t be cloudy. But from what I read, Mt Fuji is showy during Spring.
Expenses
So here’s the breakdown of my expenses just so you could have a ballpark figure of the budget that you need to prepare should you decide to visit the Land of the Rising Sun.
Visa fee: ₱800. On my three visa applications, I always entrust it to Discovery Tours in Makati as they offer the cheapest rate for Tourist Visa. And, they are fast.
Travel tax: ₱1,620. I always feel excited whenever I go out of the country except for this.
Hotel: ₱8,000. I stayed for 2nights in AirBnb and 2 nights in First Cabin Tsukiji Branch – First Class Room.
Pocket WiFi c/o Klook: ₱1,092. Whenever I go to other countries, I make sure to have a pocket WiFi as Google Maps needs to be connected to the internet. I used Google Maps to know what train station to take as it suggests routes if you want to go from one place to another and also gives direction whenever I want to go to a place through walking.
Transportation: ¥5400 or ₱2,457. If there’s one thing I consider as expensive in Japan, it is going to be the transportation. Just like what I did in October 2016, I bought the 72 hrs Tokyo Metro Subway Pass plus a Roundtrip Sky Liner Ticket (takes only 40-45mins from Narita T2 to Ueno Station, the fastest). I highly recommend this one especially if you’re just staying in Tokyo. I first used it at 1pm of 30 March 2017 so the pass is valid until 2 April 2017 12.59pm. Please note, however, that this is not valid on any JR Lines as well as JR Bus.
Pocket Money: ¥20,000 or ₱9,100. This already includes ¥2000 worth of Royce Chocolates, ¥2500 worth of Don Quijote items, Nike Shoes on sale worth ¥4000, ¥1000 Top Up on Pasmo Card (like our Beep Card) which I used whenever I need to take JR Lines. I got this card from my trip last October 2016, and the rest is for food.
As for my airfare ticket, I intentionally excluded it as I don’t want to give an impression to anyone that it is expensive/cheap to go to Japan. My ticket was not too expensive but not too cheap as well as I have just booked it right after the first forecast of Cherry Blossoms by Japan Guide.
Also read: How I Travelled 7 Days to 4 Cities in Japan: Itinerary & Tips for Filipinos
So there you have it, my total expenses for that solo spring trip is ₱21,977 excluding airfare. This can still be cheaper if you’re in a group to share expenses, especially for your hotel.
Follow me on Instagram: @momo101891 for my other adventures!
Published at
About Author
Raymond Talamayan
Subscribe our Newsletter
Get our weekly tips and travel news!
Recommended Articles
My 10-Day Southern Vietnam Backpacking Trip for Less Than ₱15k 10 Family Outing Ideas in Metro Manila Under ₱500 Looking for a weekend bonding with the family under ₱500? Head to these places, pronto!
10 Long Weekends in the Philippines in 2023 Book those flights ASAP.
10 Things to Do in Clark for Your Next Weekend Getaway The ideal weekend destination for every traveller.
10 Tips for Planning Out-of-Town Trips During Typhoon Season Stay safe and travel well during the rainy season.
Latest Articles
12 Remarkable Catholic Pilgrimage Sites Visited By Pope Francis: What You Need to Know Follow the faith-filled footsteps of Pope Francis to 12 awe-inspiring Catholic pilgrimage sites around the world.
Complete Guide to Manjuyod Sandbar: The Maldives of the Philippines Discover the Maldives of the Philippines at Manjuyod Sandbar, an island that disappears.
Pope Francis Dies at 88 After Illness Remembering his travels and legacy
Mother’s Wonderland: Quezon Province’s Fantasy Theme Park Explore a magical theme park in Tayabas filled with nature, art, and fantasy
Kayangan Lake in Coron, Palawan: Everything You Need to Know Dive into the crystal-clear magic of Kayangan Lake, the crown jewel of Coron, Palawan!

