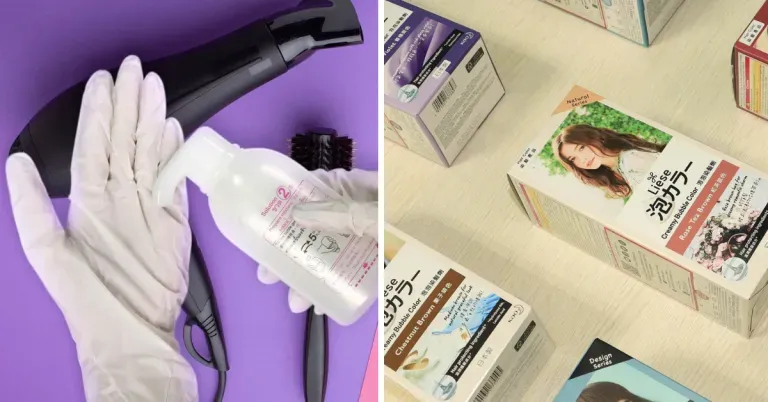
Sometimes we need a little TLC.
This ₱449 DIY Hair Dye Kit Is a Must-Try for Beginners

It doesn’t have to take a breakup or a dramatic turning point in your life for you to sport a brand new hairdo. Sometimes, you simply want to feel something, anything — other times, you simply feel the need for a change. The exciting part? You need not head to a salon and spend thousands of pesos to do this. Yup, your grand transformation can take place right within your home with the help of a handy DIY hair dye kit.
Also read: 13 Best Wavy & Curly Hair Products to Add to Your Beauty Routine
Why DIY?
For starters, you’ll save a whole lot of money. While I love my trusted hair stylist, I can’t lie: spending at least ₱4,000 to dye my hair and a few thousands to retouch my roots every few months can feel like a little too much. (Hence, I often sport that awkward ombre look as my roots start to grow out. Can anyone relate?)
A DIY hair dye kit will set you back less than ₱1,000, and a simple dye job can take as short as just 30 minutes, depending on your hair length and colour. Granted, it won’t look as perfect as if you were to get it professionally done; but to the layperson (aka a non-professional hair stylist), your new ’do will look just as awesome!
Liese Creamy Bubble Colour: Try this DIY hair dye kit at home!

Price: ₱449
Where to buy: Shopee, Lazada, Watsons stores
Thinking of venturing into the world of DIY hair dye? For fellow first-timers, I can personally recommend Liese. The Japanese beauty brand’s Creamy Bubble Colour is one of their bestselling products, and after trying it out for myself, I can totally understand why.
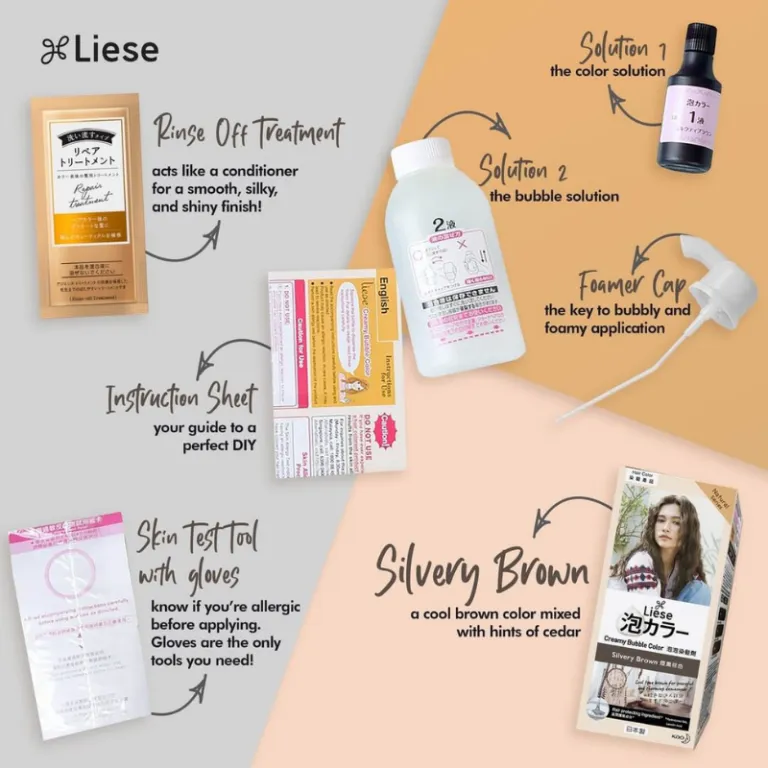
One DIY hair dye kit comes with a colour solution, a bubble solution and bottle (this is what will transform the hair colour into a foam!), and a rinse-off treatment. In addition, it also includes a detailed instruction sheet, gloves, and a skin test tool so you can determine whether you’re allergic to the product.
Liese offers a wide range of colours, from natural browns like Milk Tea Brown, Chestnut Brown, and Soft Brown to more adventurous tones like Deep Violet, Mint Ash, and Cool Pink. Based on my experience, I can definitely vouch for their natural colours; meanwhile, if you want to go for the brighter hues, you might want to bleach your hair first. But that requires a whole other DIY activity and another set of products altogether!
Can’t decide on a colour just yet? Check out Liese’s virtual try on here.
How to use bubble shampoo or bubble hair dye
Bubble hair dye isn’t a new concept; in fact, it’s already been around for almost a decade now. Basically, it requires you to mix the hair colour agent with a “bubble solution” or foaming agent. Users are instructed to gently mix the two solutions in a bottle, then close it with a foam cap.
You’re advised to apply the solution on dry hair immediately after mixing. Once you’ve covered up all your hair with the foam, leave it on for at least 20 minutes. Finally, you can rinse, shampoo, and then apply the provided hair treatment. Rinse again, then voila! Your hair has officially been coloured.
Post-DIY hair dye tips
The most important thing to note when DIY-ing your hair transformation: Aftercare is just as important. Hair experts recommend shampooing your hair less frequently, as well as using purple shampoo. The latter keeps your hair nourished and prevents it from turning brassy — so you can say goodbye to that orange tone that dyed hair usually gives off.
Here are a few purple shampoo recommendations that you can shop online:
- L’Oreal Paris Ever Pure Brass Toning Purple Shampoo and Conditioner
- Beachborn Classy Not Brassy Purple Shampoo
- Tresemme Blonde Brilliance Purple Formula
You can also check out these dry shampoo products for days you skip washing your hair:
- Beachborn ry Shampoo
- Palmolive Naturals Fresh & Fragrant
- TIGI Bed Head Oh Bee Hive Matte Dry Shampoo
Also read: 10 Local Beauty Brands That Deserve Your Attention
Ready to DIY? We can’t wait to see how your experience turns out. Tag us on Instagram at @tripzillaph!
All images credited to Liese Philippines | Official Instagram Page
Published at
About Author
Gabriella Salud
Subscribe our Newsletter
Get our weekly tips and travel news!
Recommended Articles
10 Spa & Massage Places in Manila to Destress 15 Types of Travel Bags You Should Use In This Lifetime Everything’s so useful!
2022 Planners: Our Top Picks & Where to Buy Them Which one are you getting?
2023 Planners: Our Top Picks & Where to Buy Them It’s that time of the year again!
I Completed 30 Days of Yoga During Quarantine — Here’s How It Changed Me Have you dealt with anxiety during this pandemic? Here’s how I faced it.
Latest Articles
Dingalan Travel Guide: Nature Spots to Discover Now Underrated coastal gem in Aurora
What to Eat in Bicol: Iconic Dishes and Treats, and Unique Pasalubong You’ll Love Spice up your foodie adventure with iconic Bicol dishes and must-try pasalubong!
Top Travel Trends in the Philippines for 2025 New spots, tips, and trends
New UK Adventure Park to Visit in Devon and Cornwall Fun countryside escape near London
Ultimate Camarines Norte Travel Guide: Waterfalls, Beaches, and More From surfing to secret waterfalls, Camarines Norte is your next escape!

