10 days in Southern Vietnam with less than ₱15k budget. Learn how this Filipina did it!
I Travelled to South Korea for 4 Days with an All-In Budget of Only ₱15k

Contributed by Sunny Someday

Years ago, I honestly thought you will have to be in your thirties with an ₱80k salary to be able to go to places like South Korea or Japan. Looking back, I hate how ignorant I was. Travelling outside the country can be very intimidating especially when it is your first time. You see those Nami Island pictures of your friends and you immediately associate those thick colourful foliage with some huge amount of money. For a stunning picture like that, it must cost a fortune, you think. But later in here, you will find out that you will only need to save ₱15k to set foot in Seoul, Busan, Everland, Nami and even Oedo Island!
Also read: My Wife and I Travelled 6 Days in South Korea for Only PHP 23k Each (All-In)
To those who do not know, this is my first post and let it be known that I made this blog for dreamers like me. I can only hope that through Sunny Someday, I can drive you to get out of your comfort zones and make you not live the same life over and over again. I’ve been really wanting to make a blog since my first out of the country travel two years ago but I thought I should wait until I could get my own DSLR or GoPro. But here I am, two years later and still haven’t bought one. But can you really blame me? These cameras are very expensive that everytime I am tempted to buy one, I’d feel guilty and would rather travel to two countries instead. Maybe, one day, I’ll find the courage to spend money for a camera but in the meantime, I will work with whatever I have, a boyfriend with DSLR. 🙂
Anyway, I have laid out below a detailed guide to your SK travel. This is especially helpful for those first time out-of-the-country travellers. My goal here is that you don’t make the same travel mistakes as I did and that you get the cheapest deals when you travel.
Visa application
Applying for VISA is kind of scary especially when you find out that there is this so-called show money. But guys, this is where your good old friends come handy. But if you are travelling more than six months from now, I don’t see why you can’t save at least ₱35,000 beforehand. Or like in my case, I was able to save ₱20,000 then I borrowed money from my friends two days before I applied and returned such when my VISA was approved.
Also read: Korea Tourist VISA Guide for Filipino Employees and Married Couples

List of South Korea VISA requirements for tourists
If you are from VISMIN and you would like to apply in the Cebu office of the Korean embassy (12F Chinabank Building, Cebu Business Park), in addition to the list of requirements for employees in the screenshot above, please make sure that your BIR FORM 2316 is stamped and signed. Normally, employers don’t give the signed and stamped form to their employees so you have to ask your HR to provide you a photocopy. Two of my friends weren’t able to secure this from their HR. If this happens to you, don’t fret, apply to the Manila office instead.My friends just sent all their requirements including authorization letter to my friend who’s staying in Manila.
Apparently, the embassy there isn’t as strict here in Cebu. Know also that after I submitted my VISA requirements, I was called to come back for an interview and after which, I was asked to secure a guarantee letter from my office manager, including a photocopy of her ID and passport. So basically, I went to the embassy four times before I got my VISA. If you wish not to go through what I went through, I suggest you find a friend in Manila to apply on your behalf. Make sure to send them dried mangoes with a thank you note for their time and effort. Also, offer to pay their transpo expense as they have to go to the embassy twice, upon application and upon approval.
Also read: How Filipinos Can Enter Korea Without a Tourist Visa
Things to do and things to bring
Before the trip
1. If you wish to follow the itinerary below, book an early morning flight to Incheon and a late night return flight from Busan. You can save a thousand pesos instead of going back to Seoul to catch your flight after you tour Oedo, Geoge and Busan. SK trip is a 4-hour flight plus 1-hour time difference. So if you take a 4:00 AM (PH time) flight from NAIA, you will arrive in SK at 9:00 AM. Also, patiently wait for Cebu Pacific‘s piso fare. You can get a roundtrip ticket for as low as ₱2,500 (included in the expenses below).
2. Apply for VISA a month before your scheduled trip.
3. Buy Everland Ticket via klook.com and bring a printout of the electronic ticket. I’ve been using this app ever since my first travel. You can save by at least ₱1,000 per Everland ticket compared to buying it in their website or upon arrival in Everland. Also, when you install the klook app on your phone, you can save an additional ₱60. If you’re travelling with friends, ask them to install the app if they want to save ₱60. If only I had six phones, I could have saved ₱360 when I bought mine and my friends’ tickets. I don’t joke about savings btw.
4. Book your Hostel or Guesthouse via booking.com. My friends and I stayed at Leo Guesthouse. You need not pay ahead. You will need a credit card though and if you don’t have one (and if we are friends), just contact me and you can use mine. I could really use some GetGo points. Haha.
5. Buy dollars a day before your travel. This means you convert your ₱10,000 to dollars and make sure you have at least ₱2,500 left in your wallet for the taxi fare to and from the airport and the travel tax of ₱1,610 to be paid in the airport. For convenience, you may buy Korean Won directly instead of dollars like what my friends did. But if you want to save at least ₱800, buy dollars first (I bought mine at BPI) and convert it to Korean Won upon arrival in SK airport. Dollar conversion savings aren’t true all the time, though. It could be that I was just lucky (you have no idea how much I hate this word) at that time.
6. Buy universal/travel adapter for your phones and camera or bring powerbanks. You can’t use your chargers in SK because their outlets have two round holes. You can buy travel adapter in ACE Hardware, OMNI brand is only ₱200+.
7. Download the app SUBWAY. You’ll need this to navigate train stations in SK. You can use this even without wi-fi while you’re on the train. Before going to Korea, familiarise yourself with the subways. Don’t get overwhelmed by the names of the train stations. Nobody expects you to memorise it. Familiarise the colours, though. It’s very helpful.
8. Pack lightly so that you won’t have to add baggage of ₱450. My baggage weighed only almost 5 kilos. I only brought dresses instead of jeans. If you’re travelling via CebPac, this means you have 2kilos left for pasalubongs when you go back to PH.
Upon arrival
1.Exchange your money (dollars) into Korean Won inside the airport. Money changers are available 24/7.
2.Buy T-Money Card and load the card ₩50,000 at any of the convenience stores (7-eleven, Mini Stop, etc.) inside the airport. This is a transportation card that you will use on subways and public buses and even buying water or food in 7-eleven. Check the balance of your card time to time and on your last day in Korea, you may have your remaining balance refunded at the same store where you bought the card or at any convenience store inside the airport.
3. Buy 1 Litre of water and refill the bottle at the guesthouse in the next mornings before your trip.
4. Breakfast at the guesthouse includes unlimited bread with jam and coffee. Note that you will have to toast your own bread and make your own coffee downstairs. If I were you, since it’s unlimited, I’d pack my own sandwich to get through the day. Besides, I did not include in the expenses below the daily snacks. You won’t have time for snacks anyway. 🙂
Itinerary and expenses
Day 1
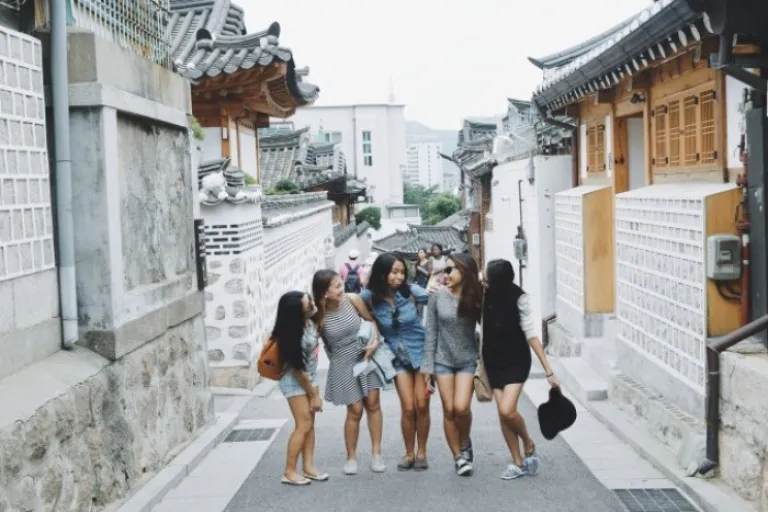
Bukchon Hanok Village
Changdeokgung Palace & Secret Garden
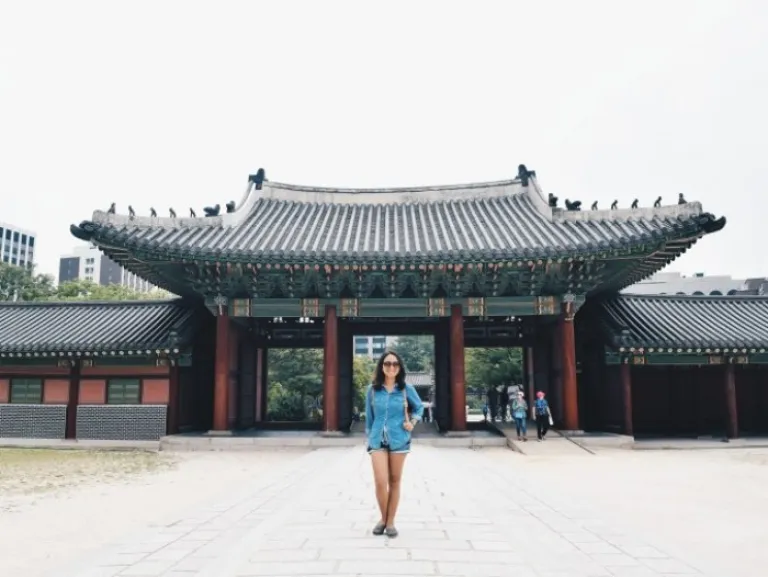
Entrance Fee: ₩8,000
Myeongdong Cathedral
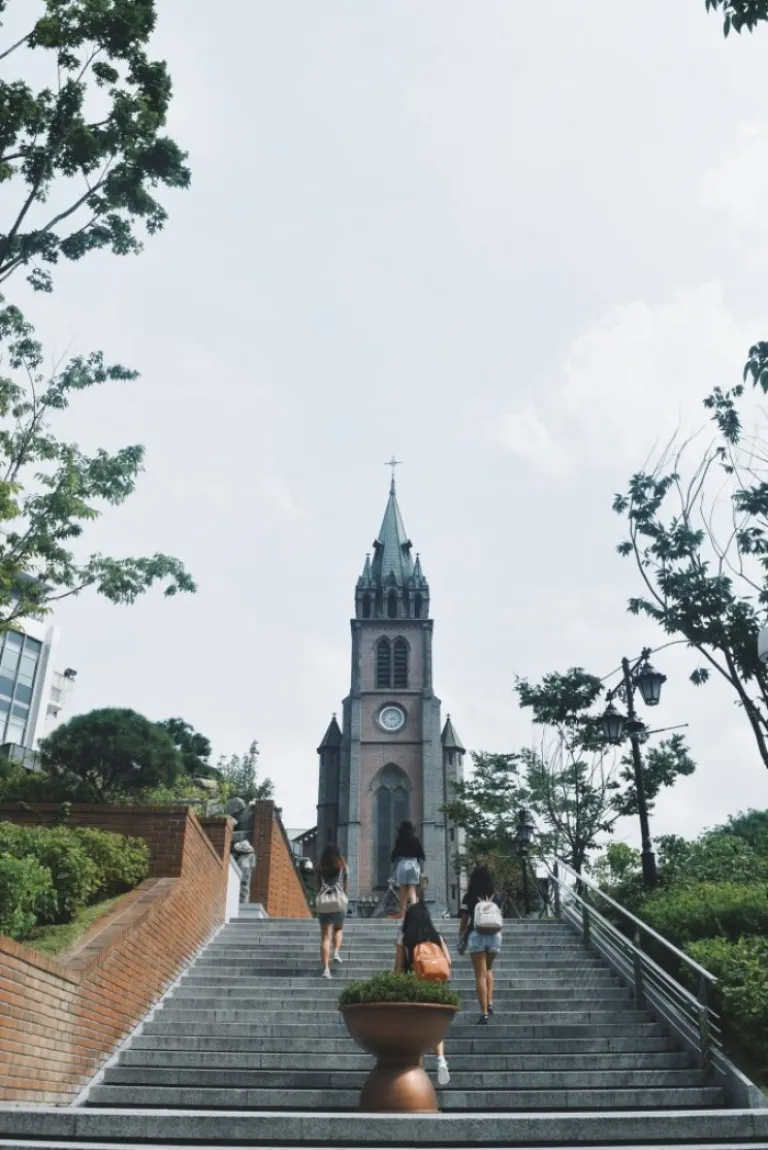
Myeong-dong
 Korea’s premier shopping destination.
N Seoul Tower
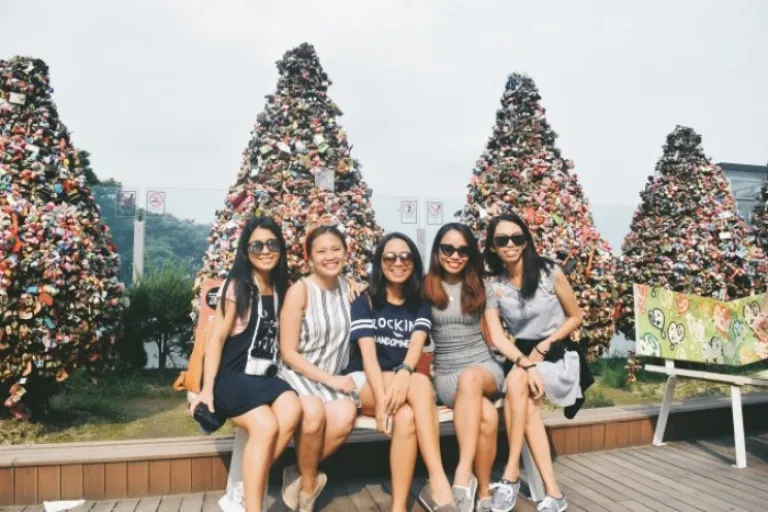 Love locks at N Seoul Tower.
Cable Car: ₩8,500
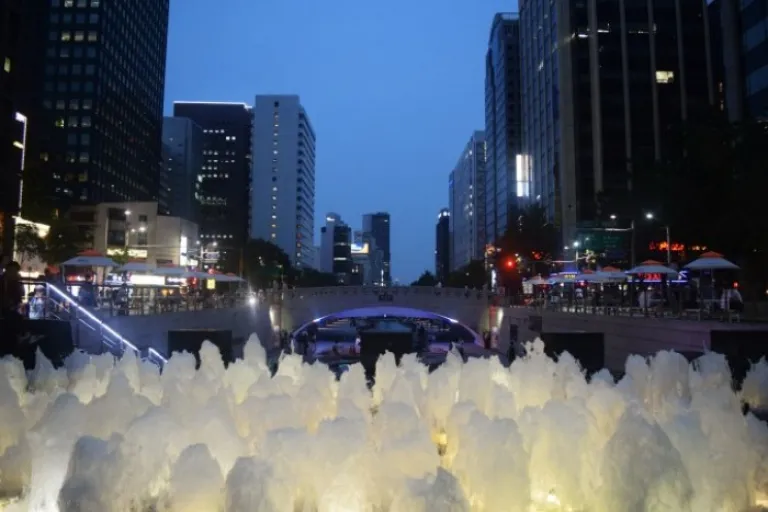
Cheonggyecheon Stream and Plaza
Day 2
Nami Island
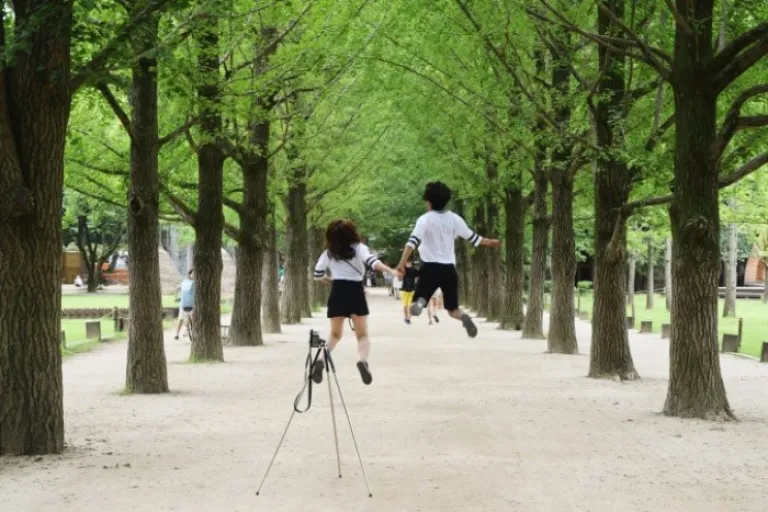
- Shuttle bus fare: ₩5,000
- Entrance Fee: ₩8,000
- Bike fee: ₩3,000
Petite France

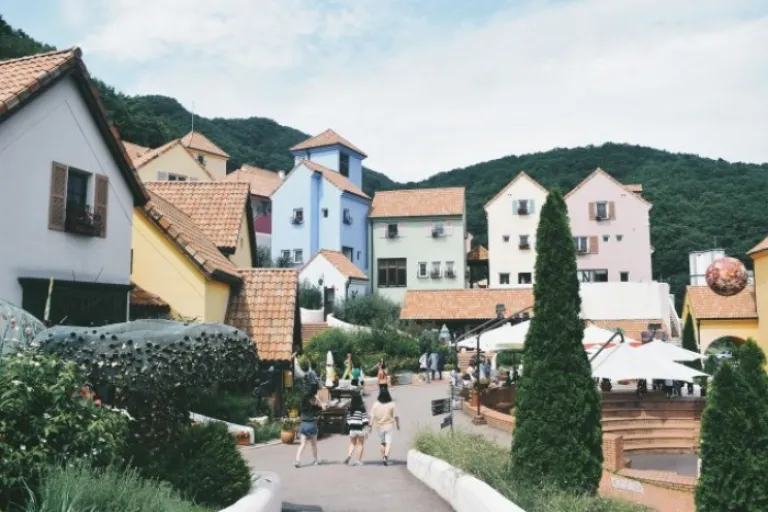
Entrance Fee: ₩8,000
The Garden of Morning Calm

Entrance Fee: ₩8,000
Dongdaemun Market
Day 3
Everland

Entrance Fee: ₱1,420 via klook.com
Day 4
Oedo Island

- Bus to Geoge Island: ₩27,200
- Ferry Boat Fare to Oedo Island: ₩17,000
- Entrance Fee: ₩11,000
Windy Hill
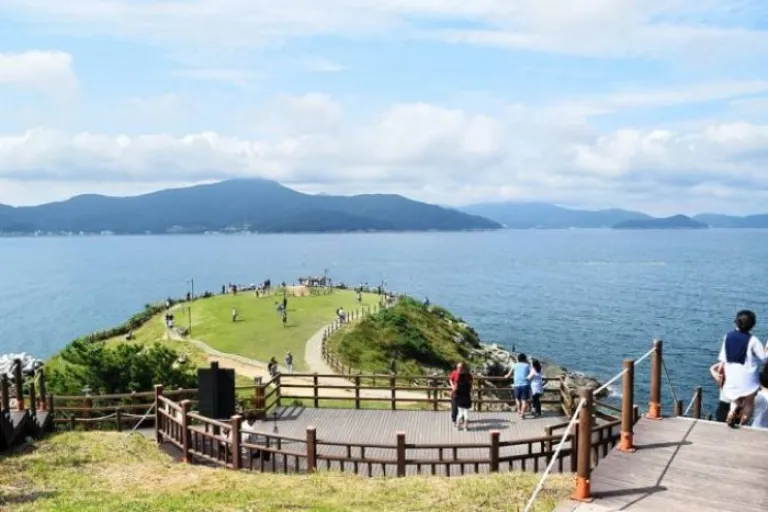
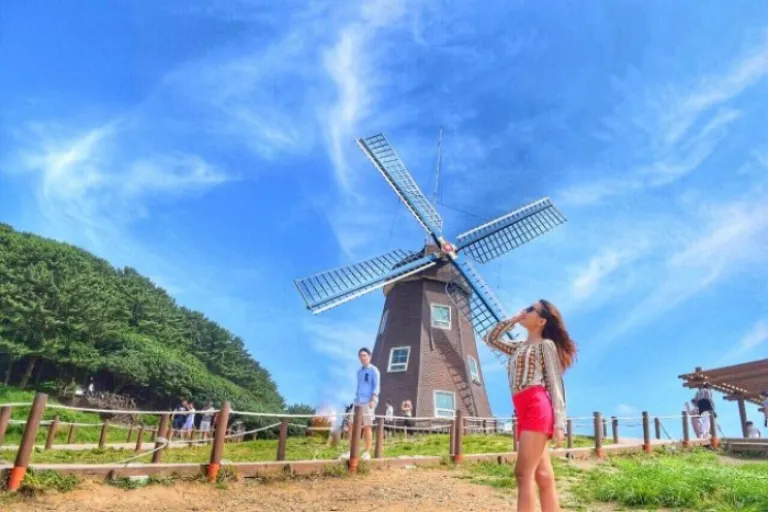
Hakdong Mongdol Beach
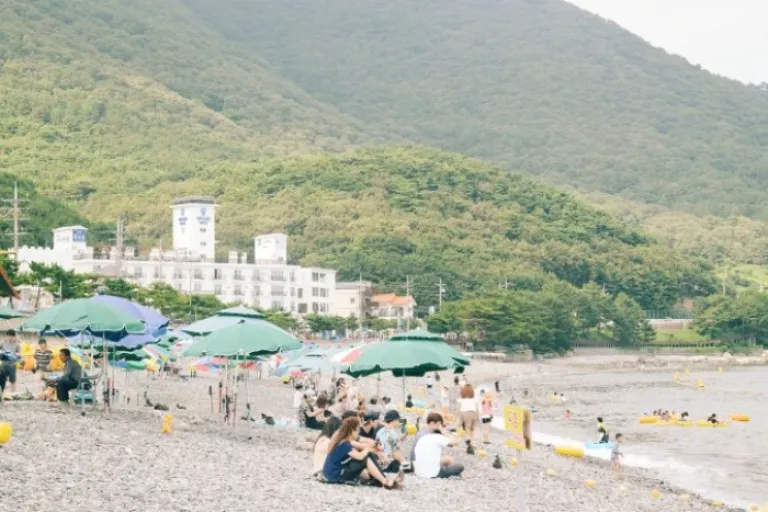
If you take a super late night flight in going back to PH, you can still stroll Busan for 3 hours before heading to the airport. Unfortunately, I don’t have pictures in Busan as we opted to stroll in Geoge island after Oedo, Windy Hill and Hakdong Beach. We also stayed in Geoge for one night, thanks to Ate Therese Kim and her family below. 🙂
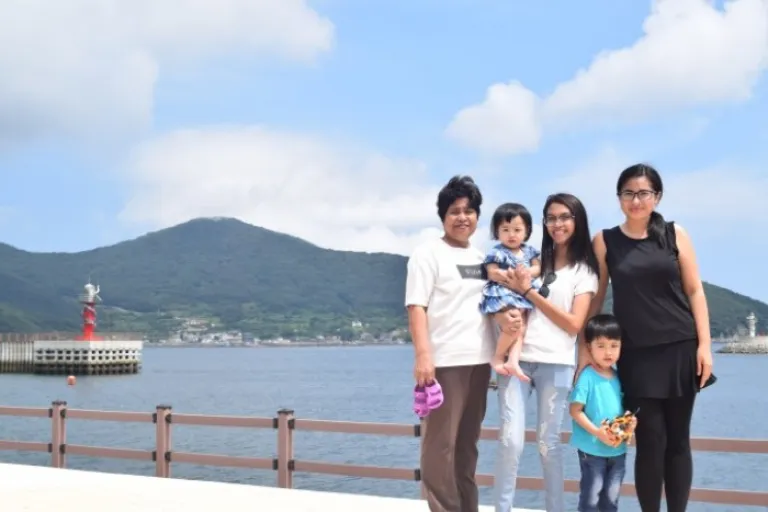 Do me a favour and please say hi to Holly and Richard, these very cute made in Korea babies of Ate Therese.
Total expenses: ₱14,938 (Conversion rate: 1 Korean Won = ₱0.04)
- ₱2,500 budget for airfare
- ₱1,610 travel tax
- ₱5,568 Day 1 – 4 total expenses above
- ₱1,620/₩40,500 for 3 nights guesthouse accommodation
- ₱2,000/₩50,000 T-Money card load
- ₱1,600 for food at ₩5000 budget/meal
- ₱40 for 1 liter of water
Note that included in the expenses above is only a three-night accommodation at Leo Guesthouse. This is assuming you can take the earliest flight from PH to Incheon. The hotel budget above is also based on a weekday rate. The Friday to Sunday night rate is higher by ₱400 per night. If you would like to stay longer than 4 days in Seoul, it will only cost you at least ₱1,100 daily for the guesthouse, food and train, and of course, one vacation leave credit or your one day salary.
Also, a decent meal in SK normally costs ₩5000 to ₩8000. But every morning before your tour, esp. in Nami and Everland, buy lunch pack meal at 7-eleven, it only costs ₩3500.
Also read: A Filipino Traveller’s Guide to Visiting Korea for the First Time
I will post the soonest a detailed daily itinerary with address, directions and time table. Follow Sunny Someday’s Facebook page or Instagram account to be notified of next posts. Comment if you have questions and share to your friends if you find this post helpful. 🙂
Published at
About Author
Subscribe our Newsletter
Get our weekly tips and travel news!
Recommended Articles
My 10-Day Southern Vietnam Backpacking Trip for Less Than ₱15k 10 Family Outing Ideas in Metro Manila Under ₱500 Looking for a weekend bonding with the family under ₱500? Head to these places, pronto!
10 Long Weekends in the Philippines in 2023 Book those flights ASAP.
10 Things to Do in Clark for Your Next Weekend Getaway The ideal weekend destination for every traveller.
10 Tips for Planning Out-of-Town Trips During Typhoon Season Stay safe and travel well during the rainy season.
Latest Articles
Dingalan Travel Guide: Nature Spots to Discover Now Underrated coastal gem in Aurora
What to Eat in Bicol: Iconic Dishes and Treats, and Unique Pasalubong You’ll Love Spice up your foodie adventure with iconic Bicol dishes and must-try pasalubong!
Top Travel Trends in the Philippines for 2025 New spots, tips, and trends
New UK Adventure Park to Visit in Devon and Cornwall Fun countryside escape near London
Ultimate Camarines Norte Travel Guide: Waterfalls, Beaches, and More From surfing to secret waterfalls, Camarines Norte is your next escape!

