10 days in Southern Vietnam with less than ₱15k budget. Learn how this Filipina did it!
My 3 Days Singapore Trip: Budget Tips & Cost Breakdown for Filipinos
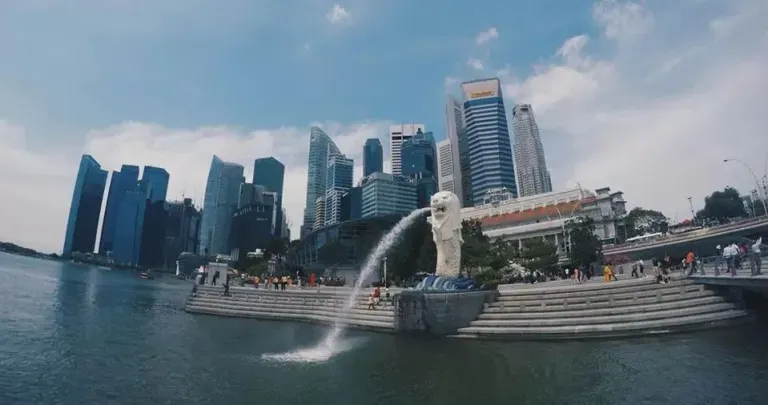
Contributed by Her Amazing Story
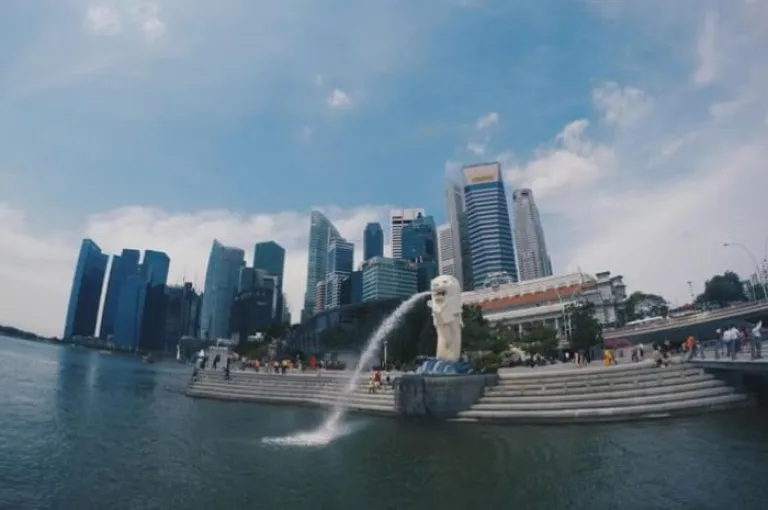 A must photo of Merlion Park to prove that you’ve been to Singapore
You don’t need to spend a fortune to travel to Singapore, one of the most expensive countries in the world. Your travel budget only needs a well-researched and strategic plan to help you survive without even sacrificing the fun of your trip.
I initially had ₱7, 000 (S$187 or US$142) as my Singapore travel budget for my three-day trip. But then, I don’t want to go back to the Philippines broke. So, here’s how I spent ₱3,100 (S$86 / US$63) (including pasalubong/gift) and ₱7,750 (S$215 / US$158) for my airplane ticket, travel tax, accommodation, food and transportation.
Also read: A Filipino Traveller’s Guide to Visiting Singapore for the First Time
Tips
- Before going to Singapore, make sure you did your assignment of researching for places and attractions and how to get from one place to another, so you won’t have unexpected expenses like taking a taxi.
- Don’t hesitate to ask the locals. I thought Singaporeans are naturally snobby, but I was wrong. They even used Google maps to help me better understand the directions.
- Withdraw your SGD cash from an ATM in Singapore for better rate instead of exchanging it from a money changer. Make sure your ATM card is connected to Visa or MasterCard.
- If not connected to Visa or MasterCard, better call your bank, inquire about it and tell them that you’re going abroad.
 RAWR at the Merlion Park
Booking a flight
To reduce your overall travel cost, you must always be on the lookout for seat sales. I got my ticket for ₱3,140 (S$87 / US$69) back in March, although you can even find a ticket cheaper than this. A tip is to subscribe to the airline’s newsletter or follow their social media accounts so you won’t miss their seat sale updates.
Also read: 8 Tricks to Successfully Grab Cheap Promo Flights in the Philippines
Accommodation

A hotel is notoriously expensive in Singapore so the best thing to save huge bucks is to stay in a hostel. You can even try Couchsurfing for a free accommodation. As for me, a bed, wifi, and basic facilities for a hostel will do since I went to Singapore to discover places, have fun, and not to stay at my hostel/hotel forever.
Also read: Staycation Secrets: 8 Singapore Hotels with Unbeatable Discounts & Perks when You Book Directly
I chose a hostel in Chinatown, a strategic location just 15 minutes away from Sentosa Island and the eminent Merlion Park. The cost of my accommodation is ₱1,123.30 (S$31/US$22) which I booked through Hotels.com.
Backpacker’s Inn was an “okay” hostel for its free wifi, shared kitchen and strategic location.
Tips
- Book your hotel online in advance. Aside from the price, you must read the reviews well. Don’t forget to check out for the promo too.
- Make sure you already booked your accommodation before going to Singapore to avoid getting questioned by the immigration officer.
Food
Food is beyond expensive in Singapore if you won’t be patient enough to look for cheap places to eat. The best places to eat for a traveller on a budget are the hawker centres. These food stalls offer cheap yet savoury food.
Restaurant food costs ₱252 (S$7/US$5) up! (Yes, it’s pricey!)
Some meals I bought in hawker centres:
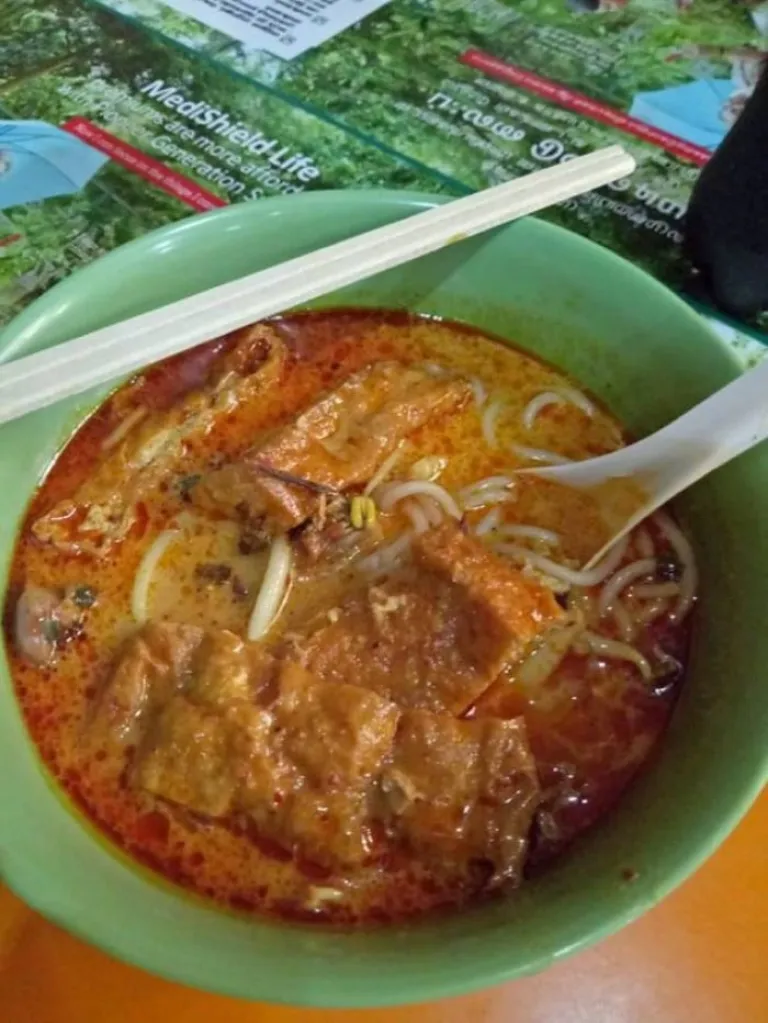 The best delicacy of S’pore: Laksa! for S$3 only (₱108/US$5)
 A must try ice cream at Ion Orchard for S$1.2 only (₱43.2)
Also read: 8 Well-Loved Desserts in Singapore that Travellers Must Try
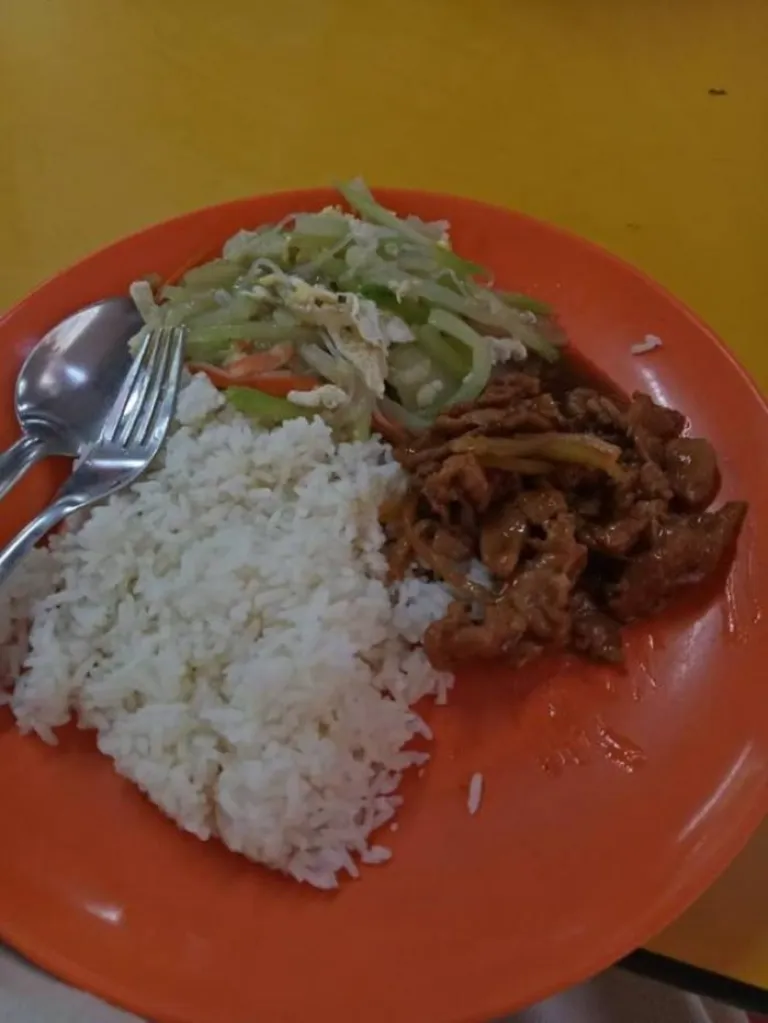 First lunch at Singapore for only S$2 (₱72). It was sumptuous indeed. It tasted like an authentic Singaporean cuisine.
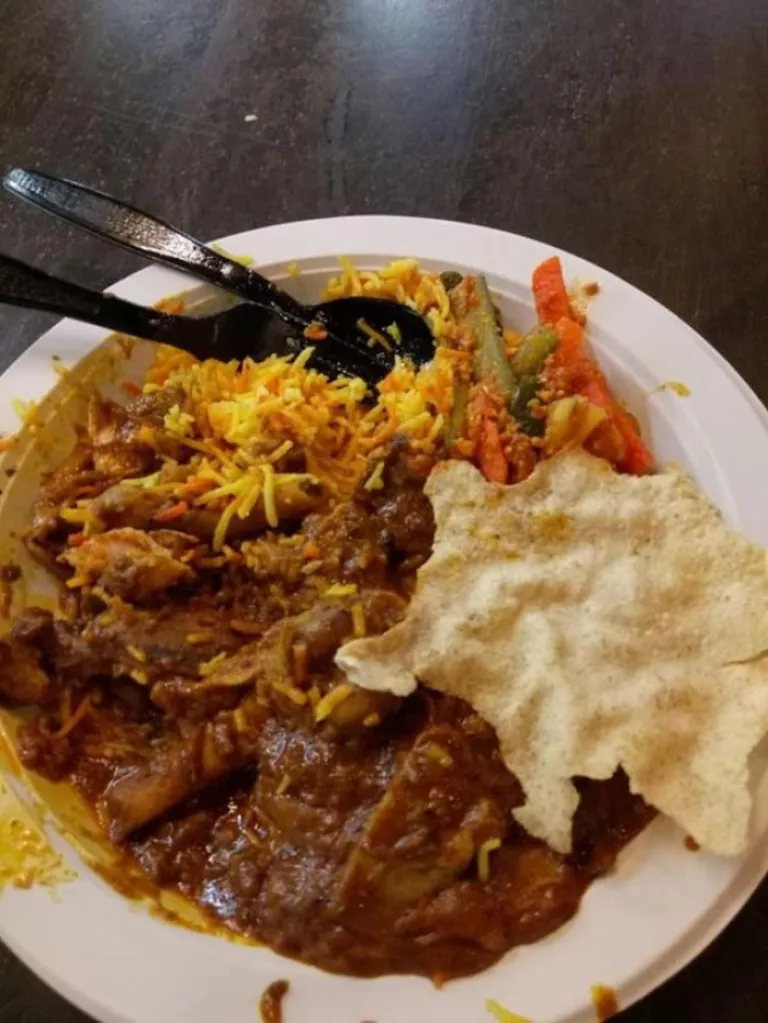 My most expensive meal I bought for S$7 (₱252) at Sentosa Island
 I saw a lot of people eating this meal that’s why I tried it. It only costs S$3 (₱108)
 In a world full of expensive food in Marina bay, we saw this milk tea shop that soothed our thirst after from walking an hour from Sentosa to Vivo City
Tips
- If you’re having a hard time choosing your meal, look for a stall that has long queues.
- Look for an accommodation that offers free breakfast, this will help you save a few dollars!
- Bring your tumbler because a bottle of water is overpriced in Singapore. If there’s an available water dispenser in your hostel, refill your tumbler before going out so you no longer need to buy for one outside. In Chinatown, water costs S$2 per bottle, but in other places, it ranges from S$6 to S$7. You can even maximise the free water fountain you’d see around the city.
- Buy goods at the supermarket. Prices there are relatively cheap! Bought a chocolate for my breakfast at Fairprice for only S$1 for 2! Yakult is also cheap in Singapore. A pack of Yakult with five bottles in different flavours costs only for S$3.5.
Also read: These 10 High Teas in Singapore Will Make You Feel Like A Million Bucks
Transportation
You’d fall in love with Singapore’s effective and amazing transportation! You can even roam around easily through their wonderful MRT. But aside from their public transportation, ready your feet and your physical stamina for long walks! I usually walk more than 3km a day there.
If you’re staying for 3 days or more, the best way to save is to buy a Singapore Tourist Pass (STP) for S$20 good for three days, which gives you unlimited rides in taking MRT and public buses. This way, you can save! But if you’re staying for a day, you can buy an EZ link Card for S$12.
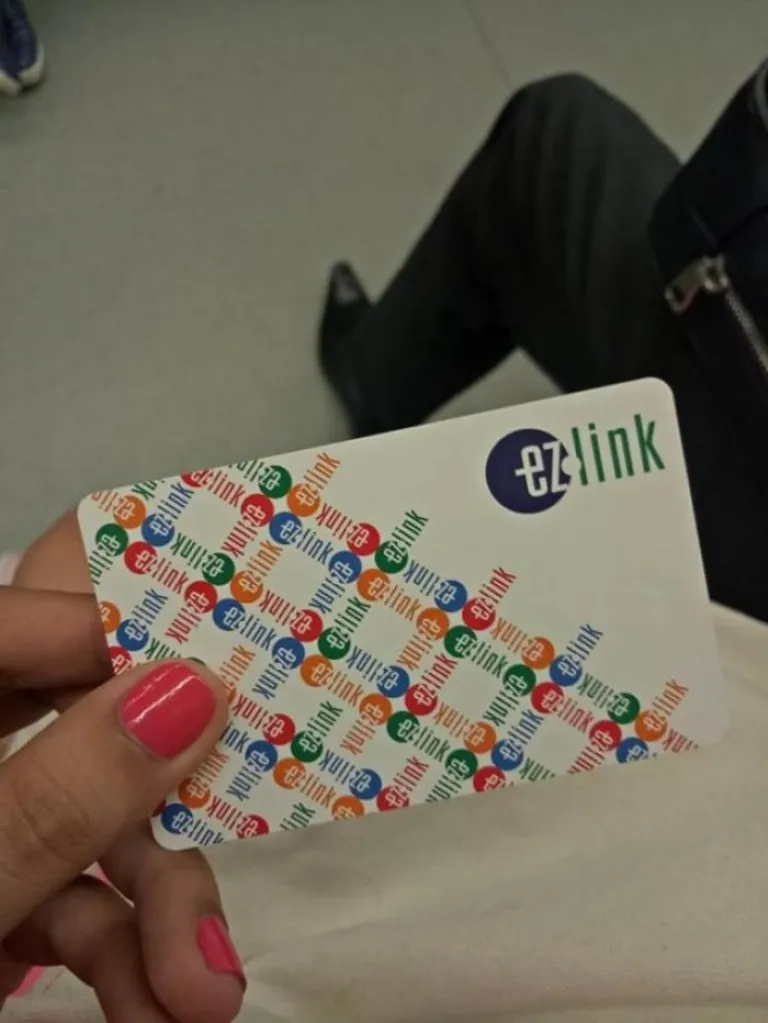 My mistake. I should have bought a Singapore Tourist Pass
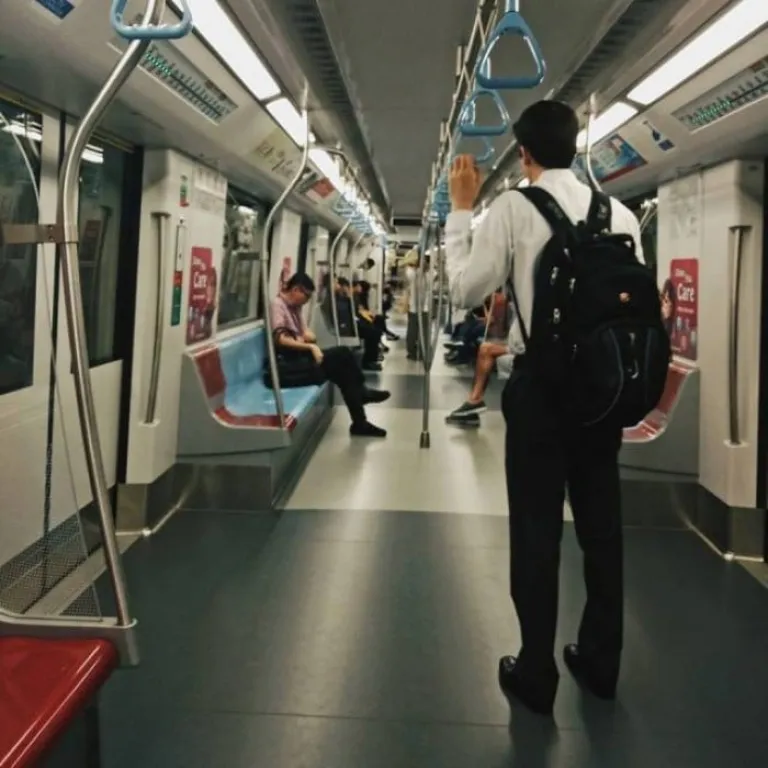 Their efficient MRT
Tips
- Don’t buy the idea that STP is overpriced. I thought it was so I opted for the EZ link card and I ended up spending more.
- Instead of riding an MRT, you better walk. It’s a good and healthier way to discover new places. Who would have thought then that I could manage to walk more than 3km a day?
- Don’t ride the SENTOSA EXPRESS! Take the boardwalk from Vivo City instead. Sentosa express costs S$4 compared to a free Sentosa boardwalk. I took the Sentosa express going there, but I was surprised to know that my fellow backpacker just walked from Vivo to Sentosa! We tried it going back and it’s indeed a walking distance.
- Download the map of Singapore!
- Never take a taxi!
Free attractions
There are tons of FREE attractions in the Lion City. You don’t have to put spend on attraction. I only spent for the entrance of Universal Studios for ₱2,041 which I bought online weeks ahead of my trip. Better buy your USS tickets on klook.com to get a discount!
If you want to see the skyline of Singapore, visit the Ion Sky on the Ion Orchard for free at 3pm-5.30pm. You can even take your photo at the famous Merlion landmark.
Also, don’t miss the opportunity to roam around the best airport in the world – Changi airport!
 Sunflower Garden at Changi Airport! Woah!
For cultural free attractions, visit Haji Lane, Arab Street, Little India and Chinatown!
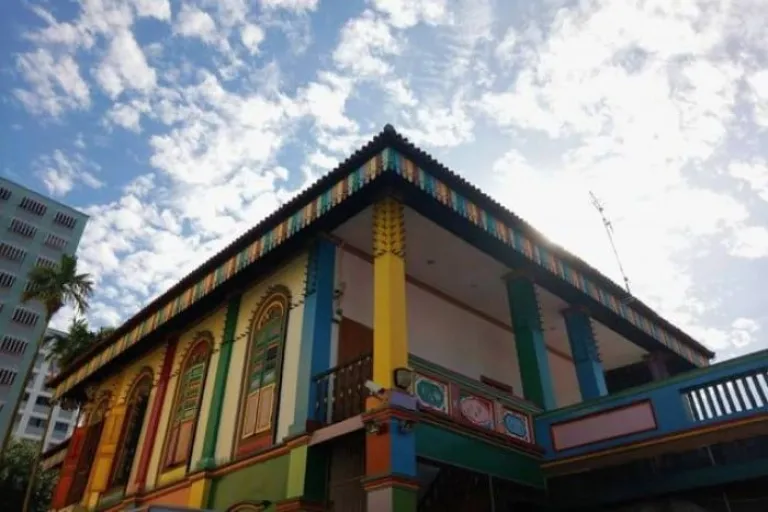
Residence of Tan Teng Niah in Little India
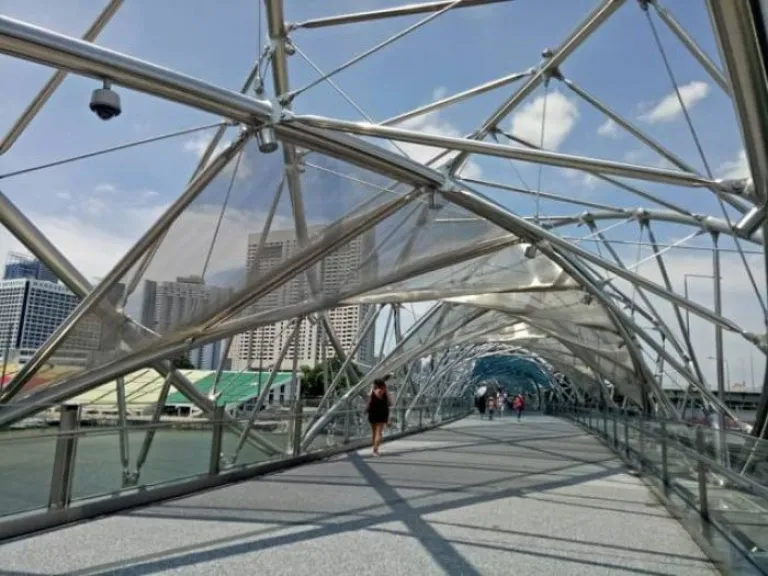 Helix bridge beside the Marina Bay
I will make a separate blog for my 3-day itinerary. Stay updated!
Cost breakdown
- Food – ₱740.88
- Transpo – ₱1,015
- Accommodation – ₱1,234.30
- Airfare – ₱3,140
- Travel Tax – ₱1,620.00
- TOTAL = ₱7, 750.18
Optional
- Universal Studios – ₱2,169
Pasalubong / Gift – ₱1, 296 - TOTAL = ₱11, 215.18
If you are not fond of theme parks, you can remove USS from your itinerary for you can still enjoy Sentosa Island without visiting USS. You can go to Sentosa’s Palawan beach which you can access for FREE and head to their hanging bridge and observatory deck.
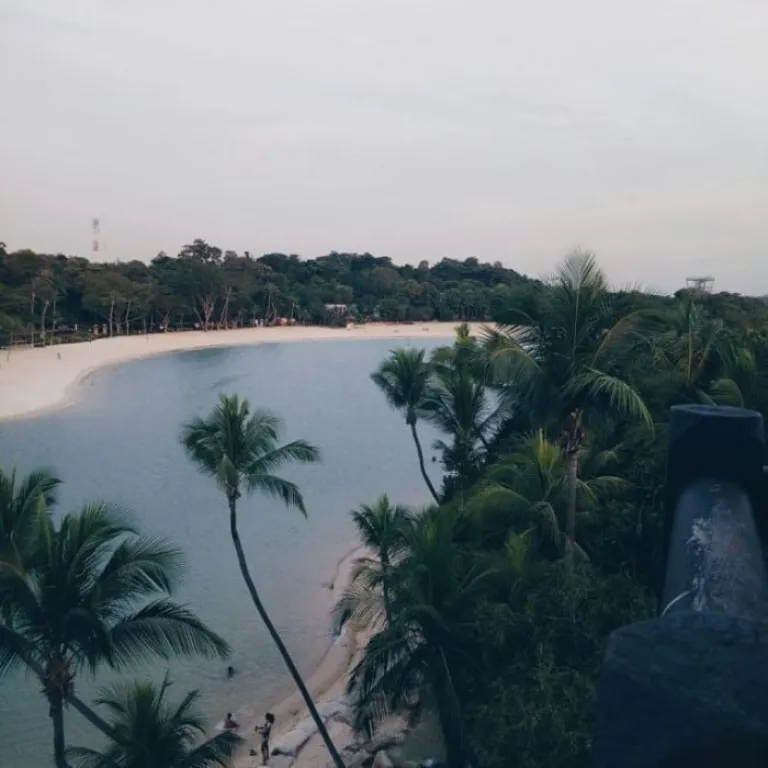 Palawan beach from the observatory deck
Published at
About Author
Amae Guerrero
Subscribe our Newsletter
Get our weekly tips and travel news!
Recommended Articles
My 10-Day Southern Vietnam Backpacking Trip for Less Than ₱15k 10 Family Outing Ideas in Metro Manila Under ₱500 Looking for a weekend bonding with the family under ₱500? Head to these places, pronto!
10 Long Weekends in the Philippines in 2023 Book those flights ASAP.
10 Things to Do in Clark for Your Next Weekend Getaway The ideal weekend destination for every traveller.
10 Tips for Planning Out-of-Town Trips During Typhoon Season Stay safe and travel well during the rainy season.
Latest Articles
Mother’s Wonderland: Quezon Province’s Fantasy Theme Park Explore a magical theme park in Tayabas filled with nature, art, and fantasy
Kayangan Lake in Coron, Palawan: Everything You Need to Know Dive into the crystal-clear magic of Kayangan Lake, the crown jewel of Coron, Palawan!
Dingalan Travel Guide: Nature Spots to Discover Now Underrated coastal gem in Aurora
What to Eat in Bicol: Iconic Dishes and Treats, and Unique Pasalubong You’ll Love Spice up your foodie adventure with iconic Bicol dishes and must-try pasalubong!
Top Travel Trends in the Philippines for 2025 New spots, tips, and trends

